


Thank you for purchasing the Synthrotek 1U Lil’ Buff Mult! This series of modules use a unique Synthrotek footprint that works in BOTH PulpLogic and Intellijel 1U racks. This is a SMT intermediate build, if you feel like you can handle it, please proceed! If not, get some help from a friend with experience or purchase a fully completed unit.
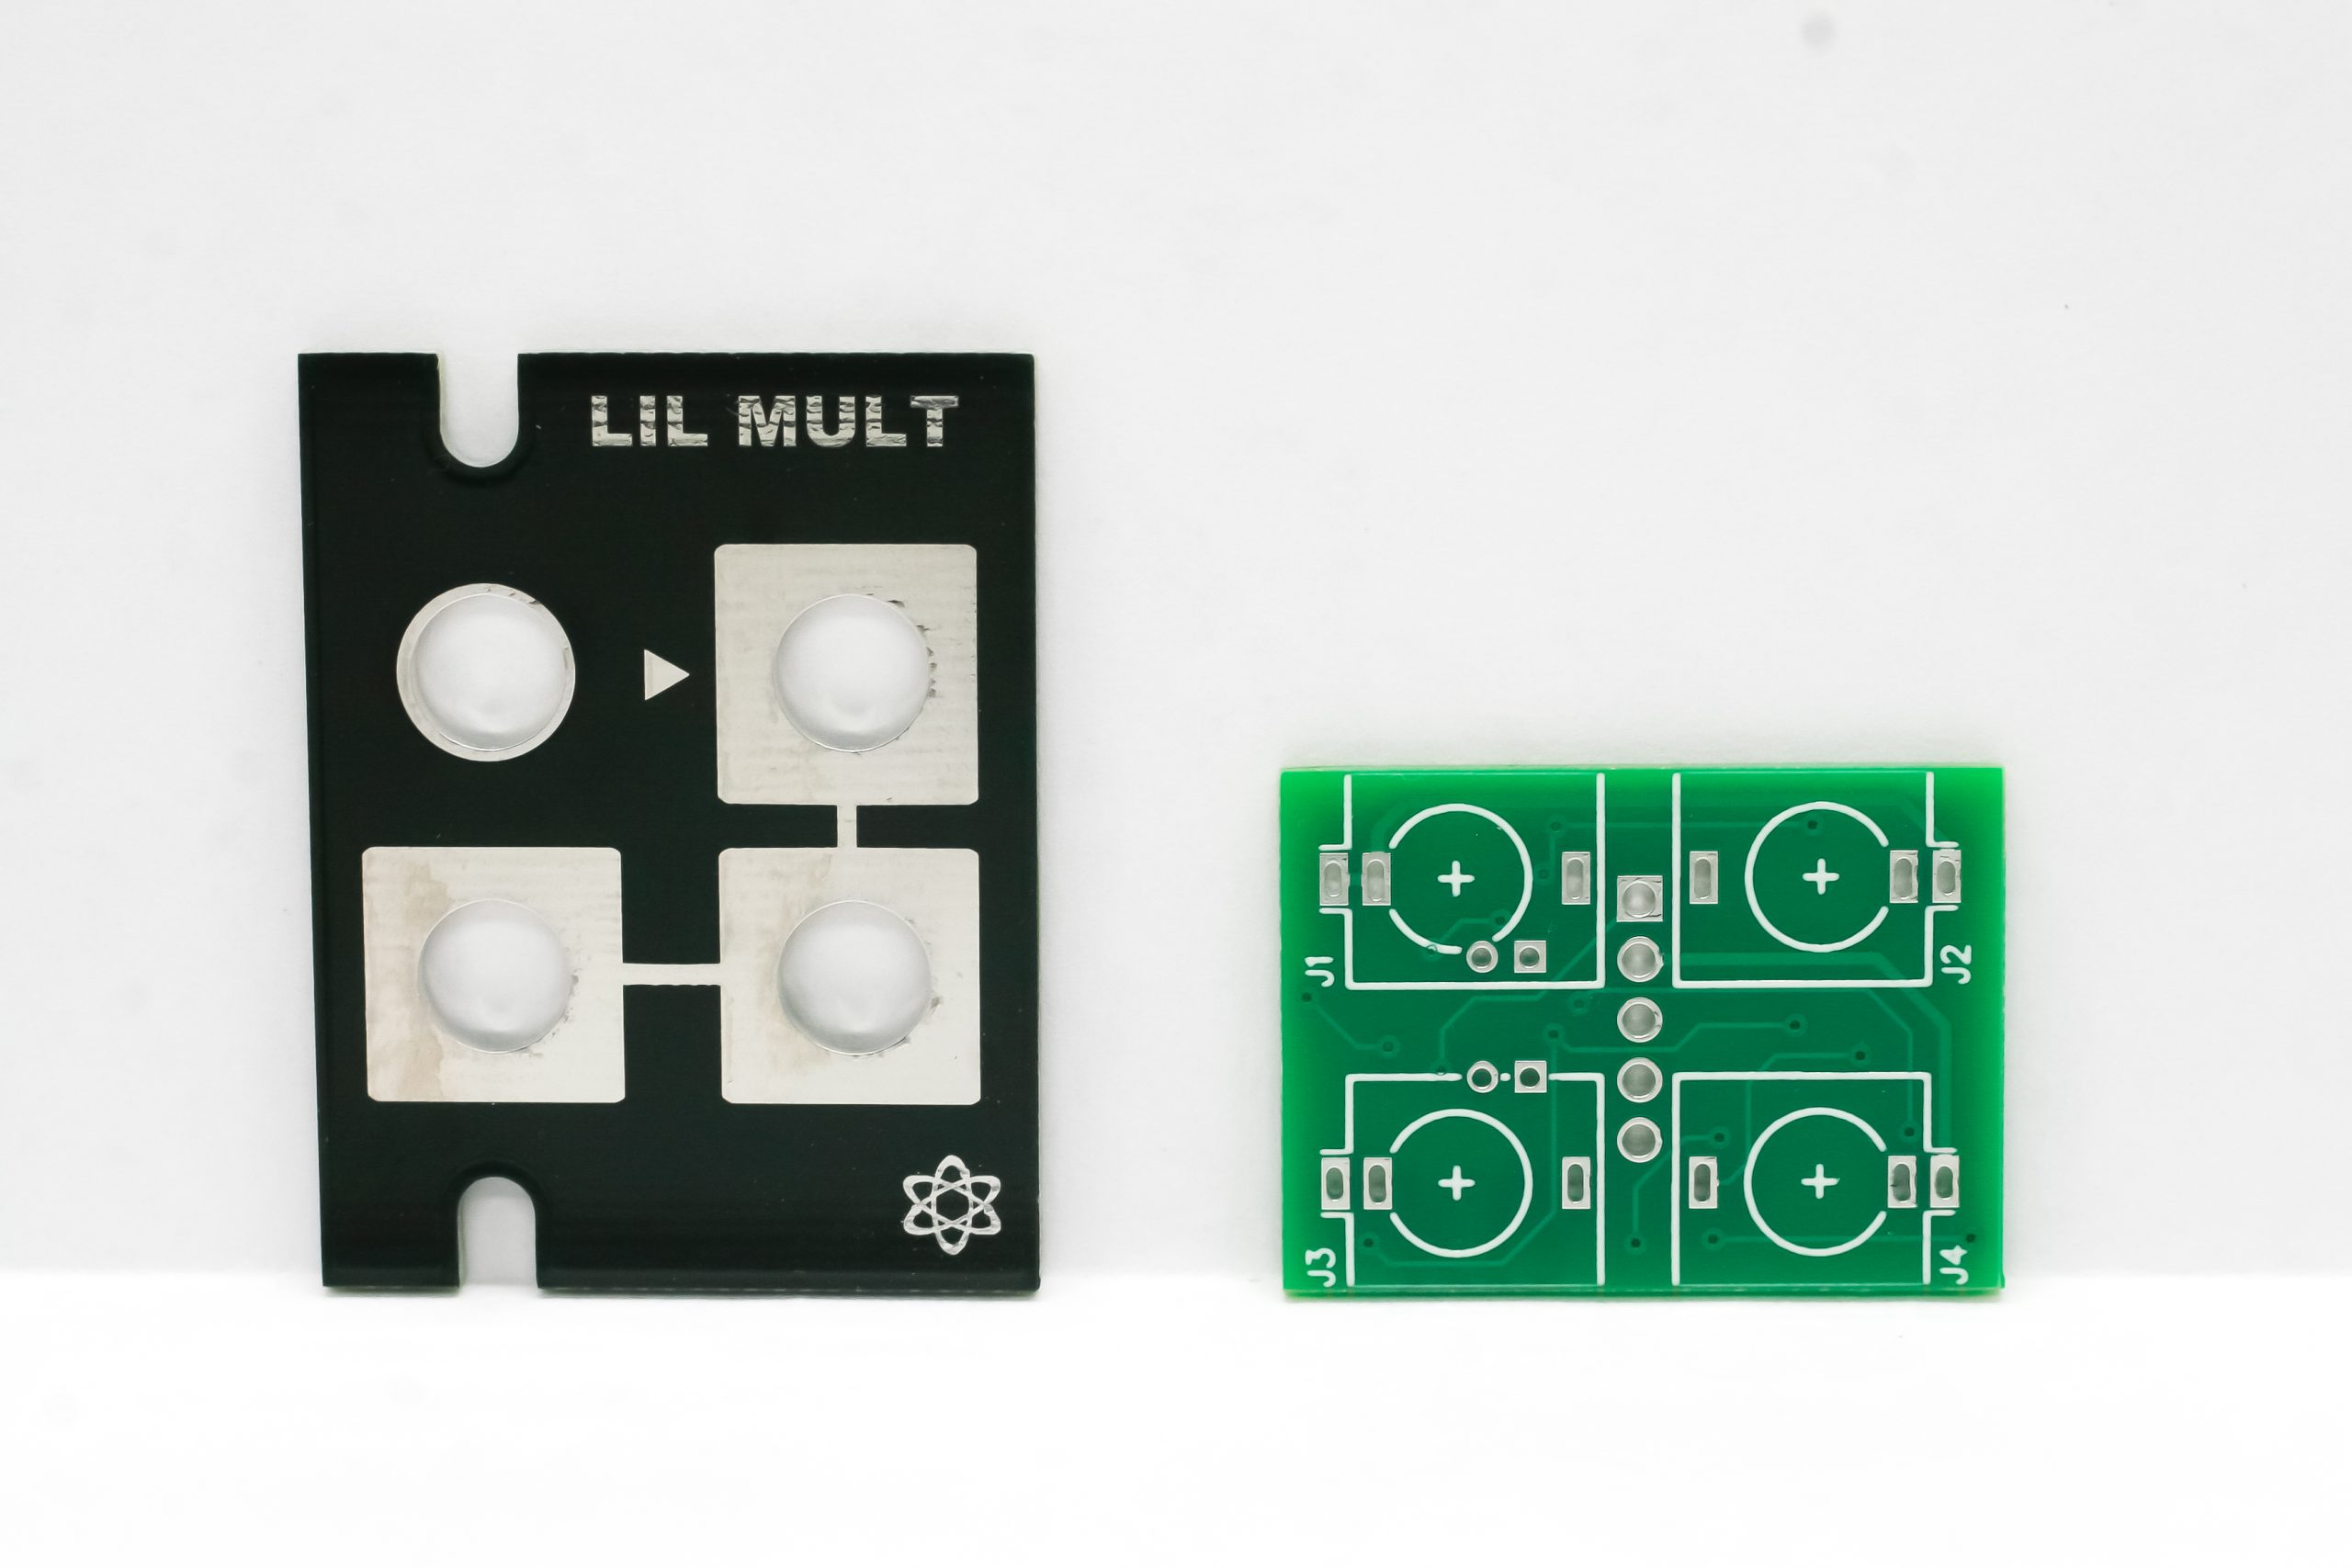
LIL Mult PCB Panel
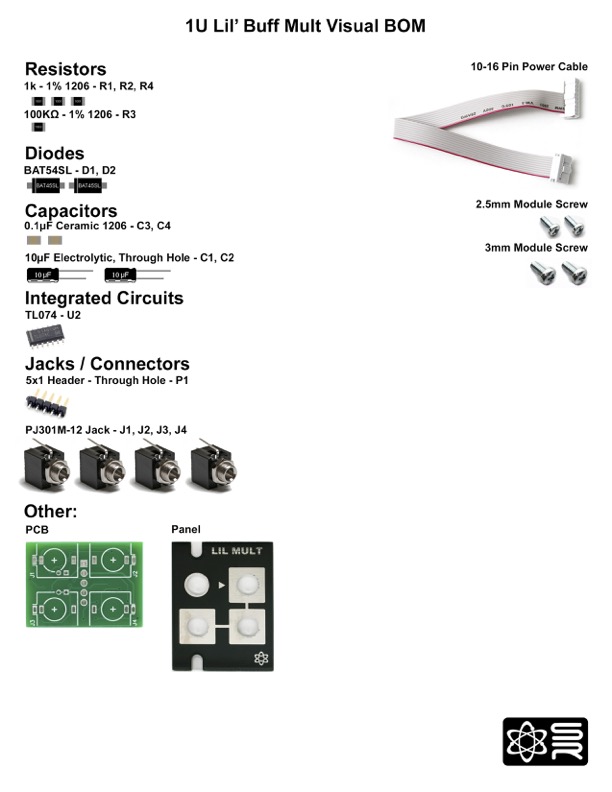
Here’s a link to a bill of materials with Mouser part numbers.
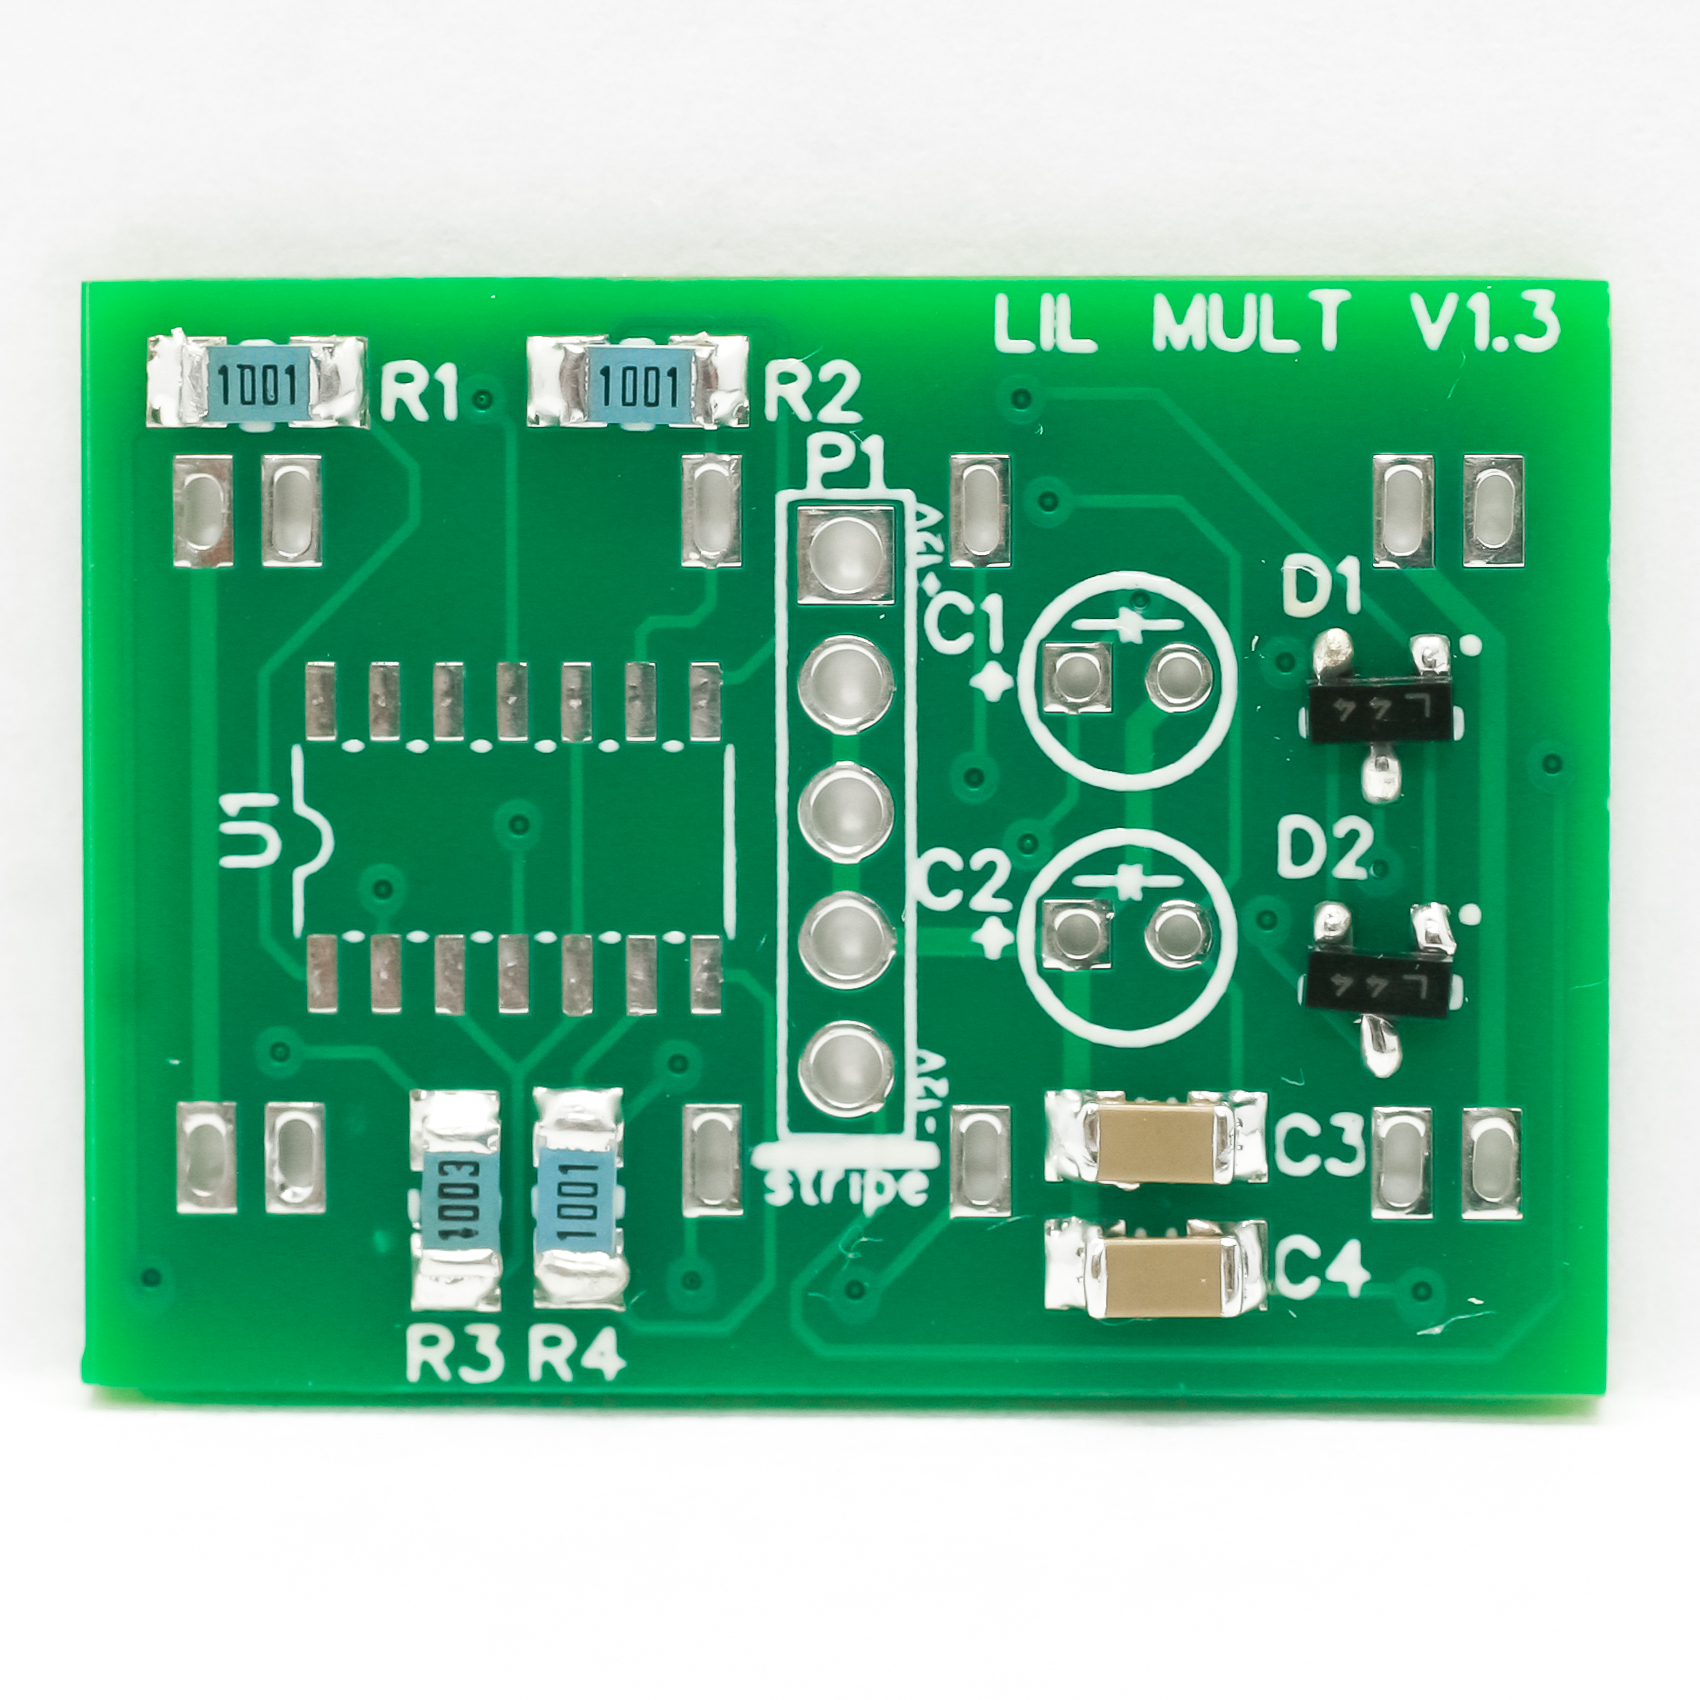
Resistors
Surface mount soldering is clearly different than through hole! Take the time you need to learn how to do it properly. Resistors are non-polarized components, so you can place them in either direction. Tack the resistors onto the PCB as shown below.
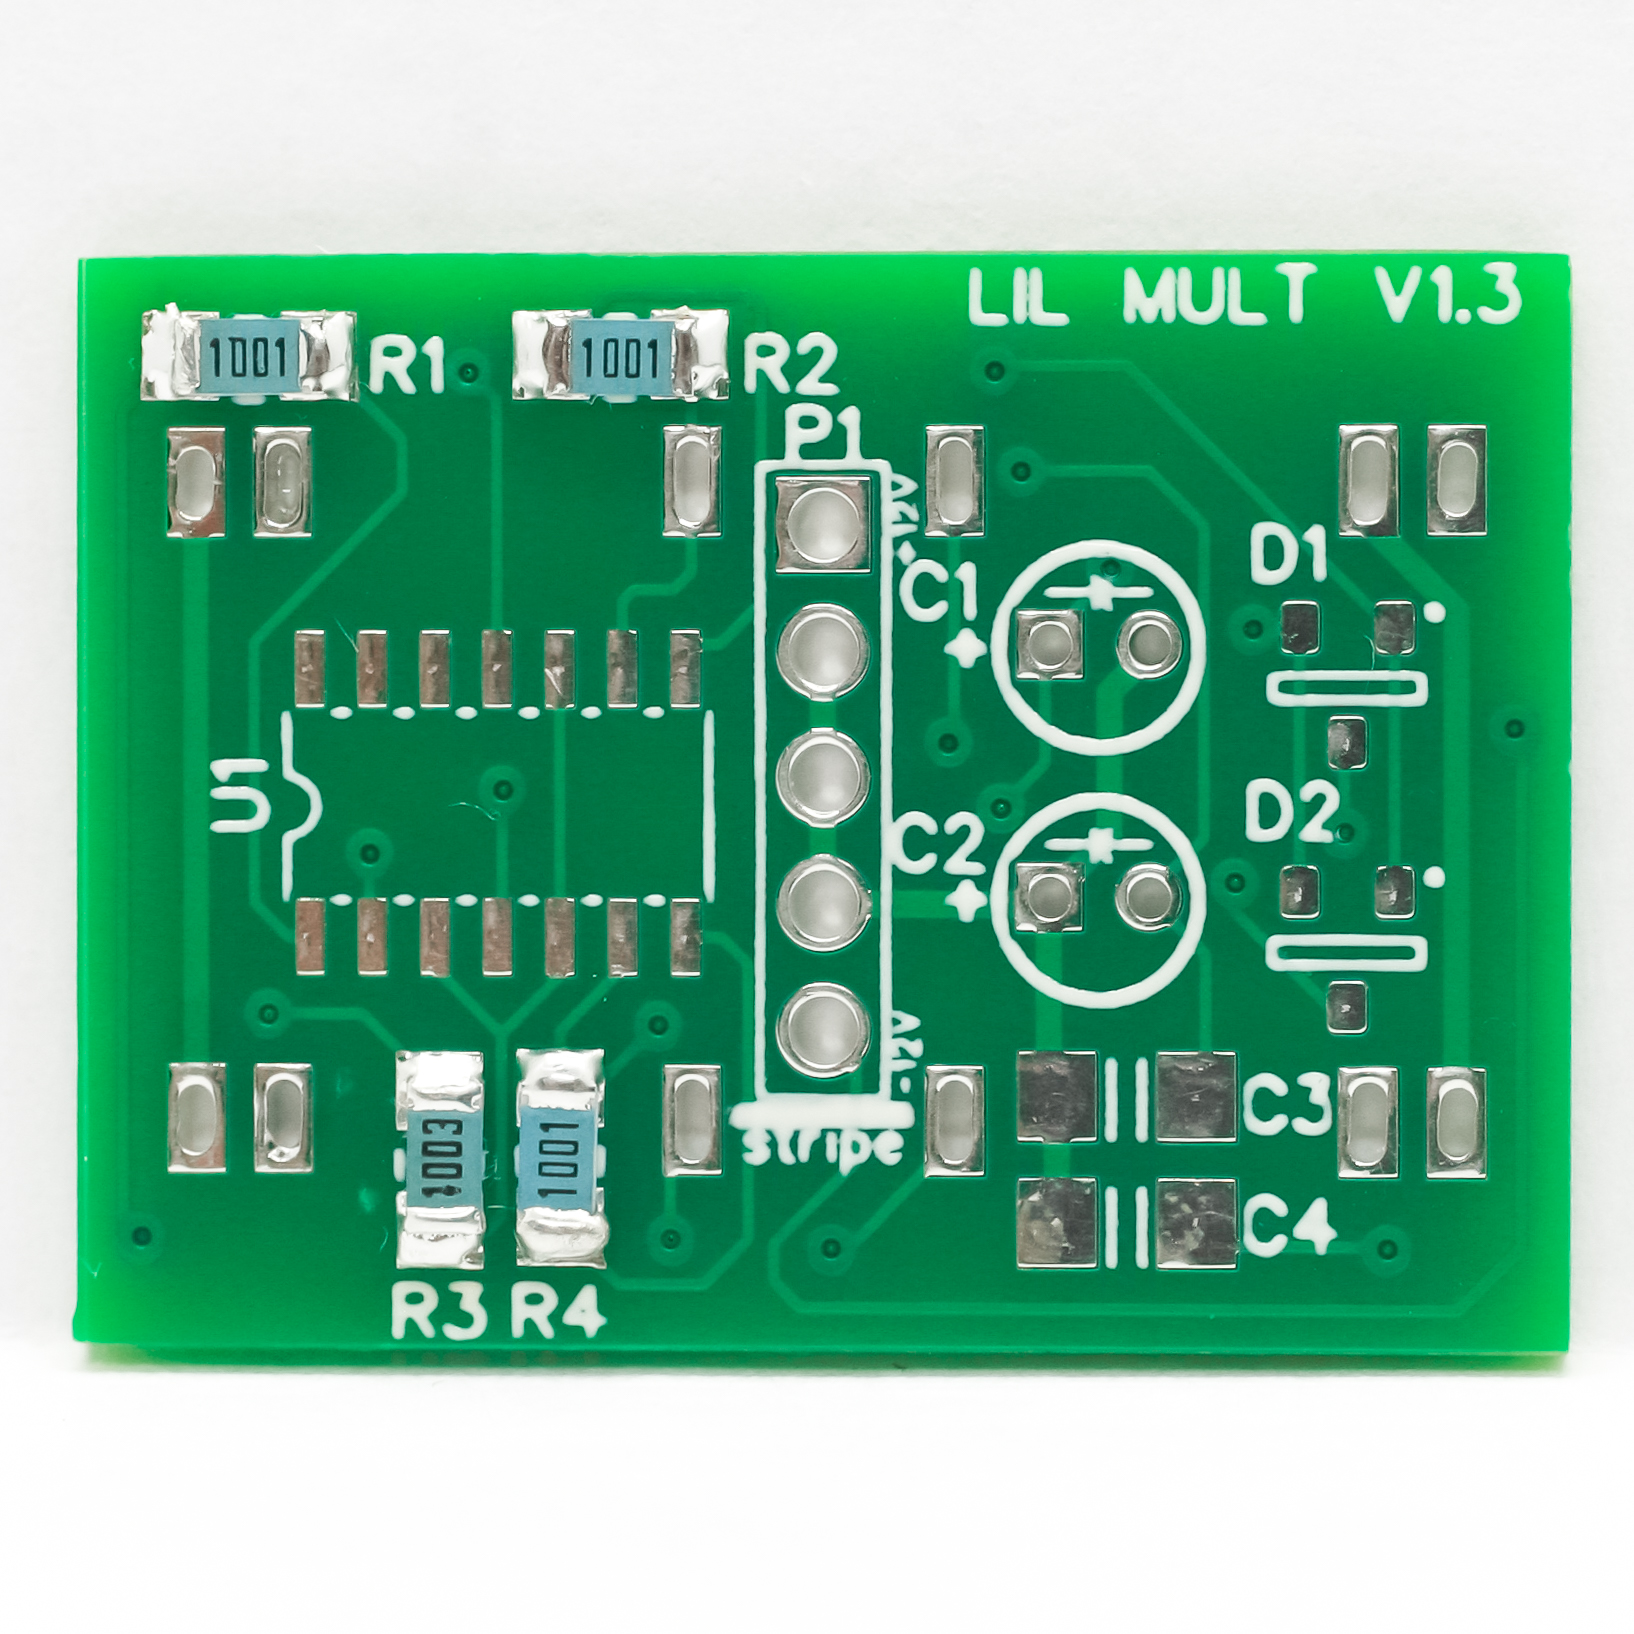
Lil Mult Resistors
Capacitors
These capacitors are non-polarized components, so you can place them in either direction. Tack the capacitors onto the PCB as shown below.
Lil Mult Ceramic Capacitors
Diodes
Tack the diodes onto the PCB as shown below.
Lil Mult Diodes
IC
Tack the IC onto the PCB EXACTLY as shown below.
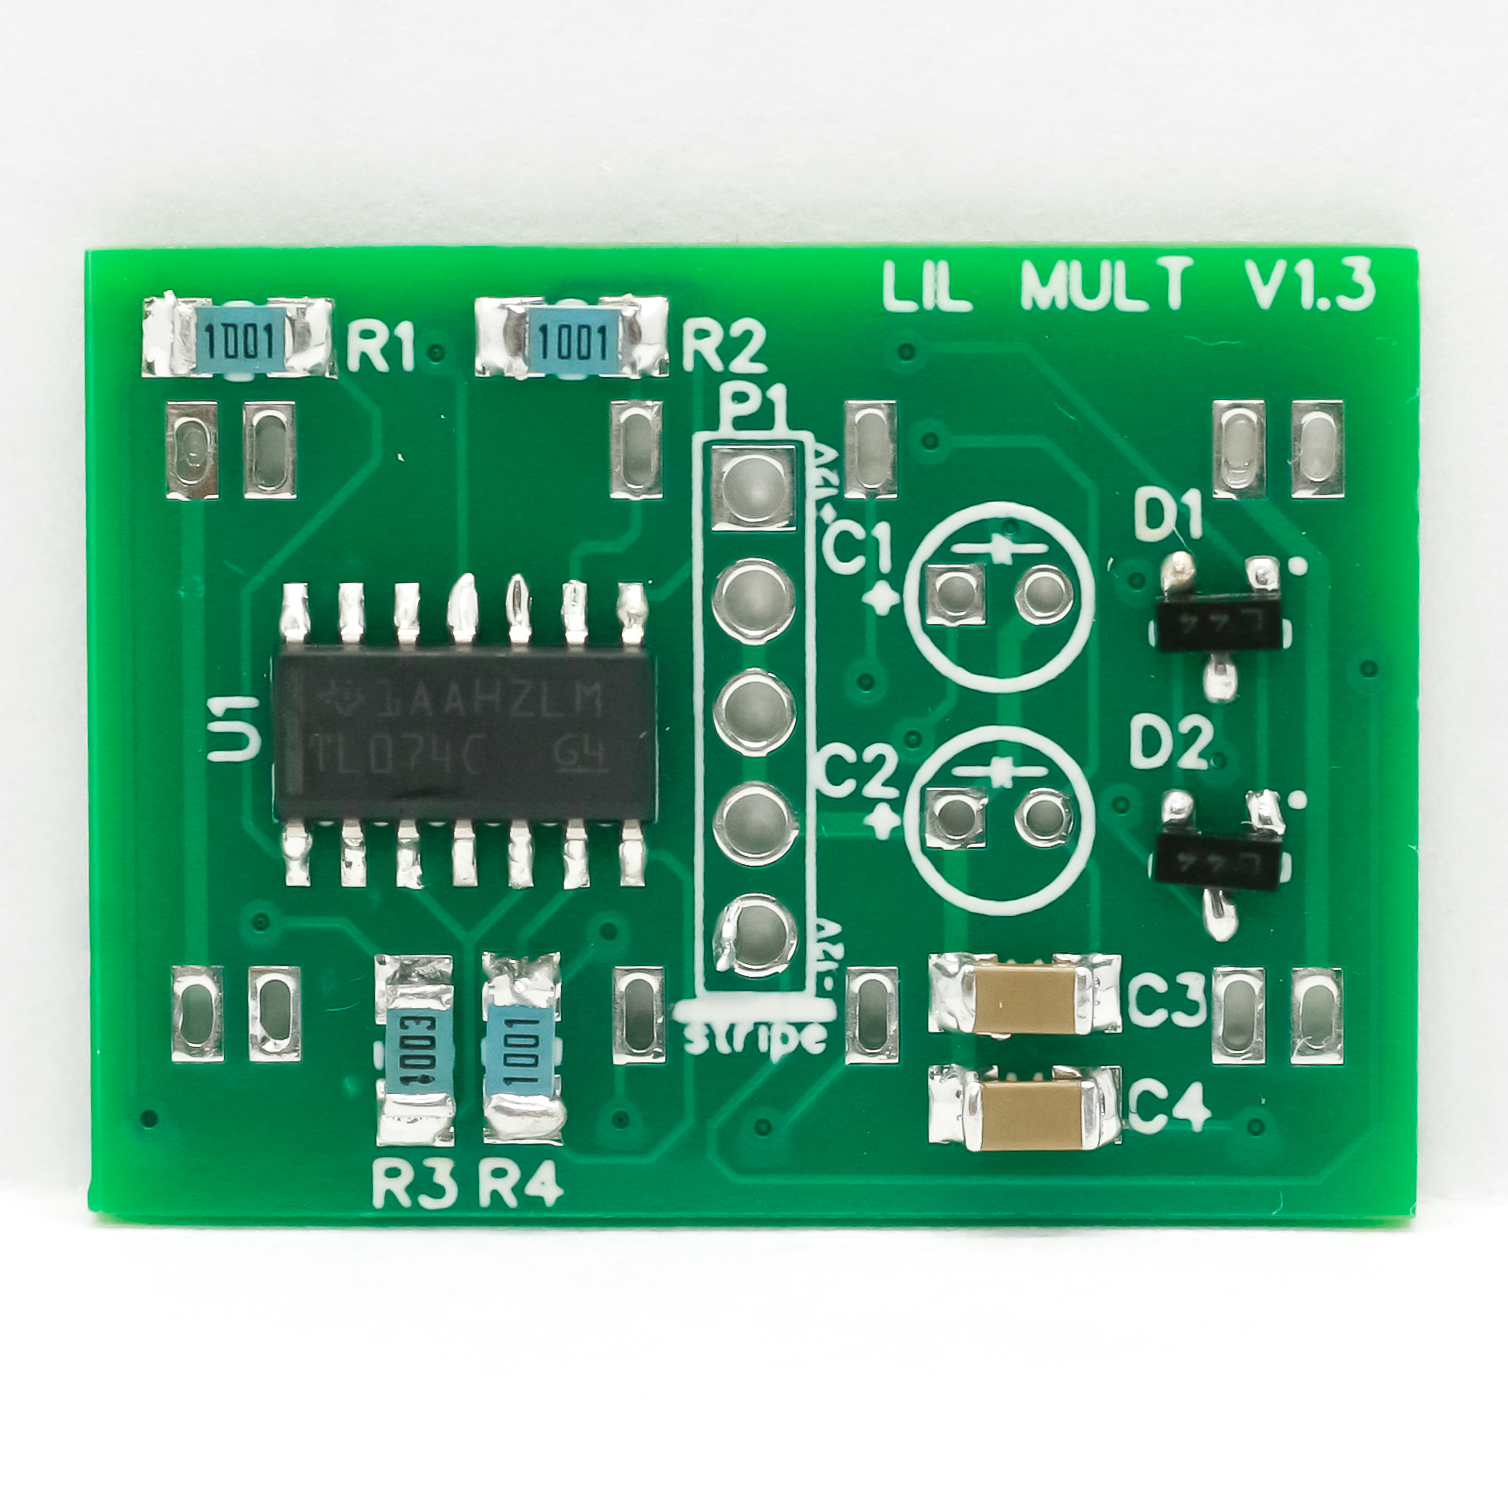
Lil Mult IC
Electrolytic Capacitors
These two caps are through-hole and polarized. Make sure that you place the long lead into the hole near “+”. Turn the board over to solder in place and then clip the excess leads.
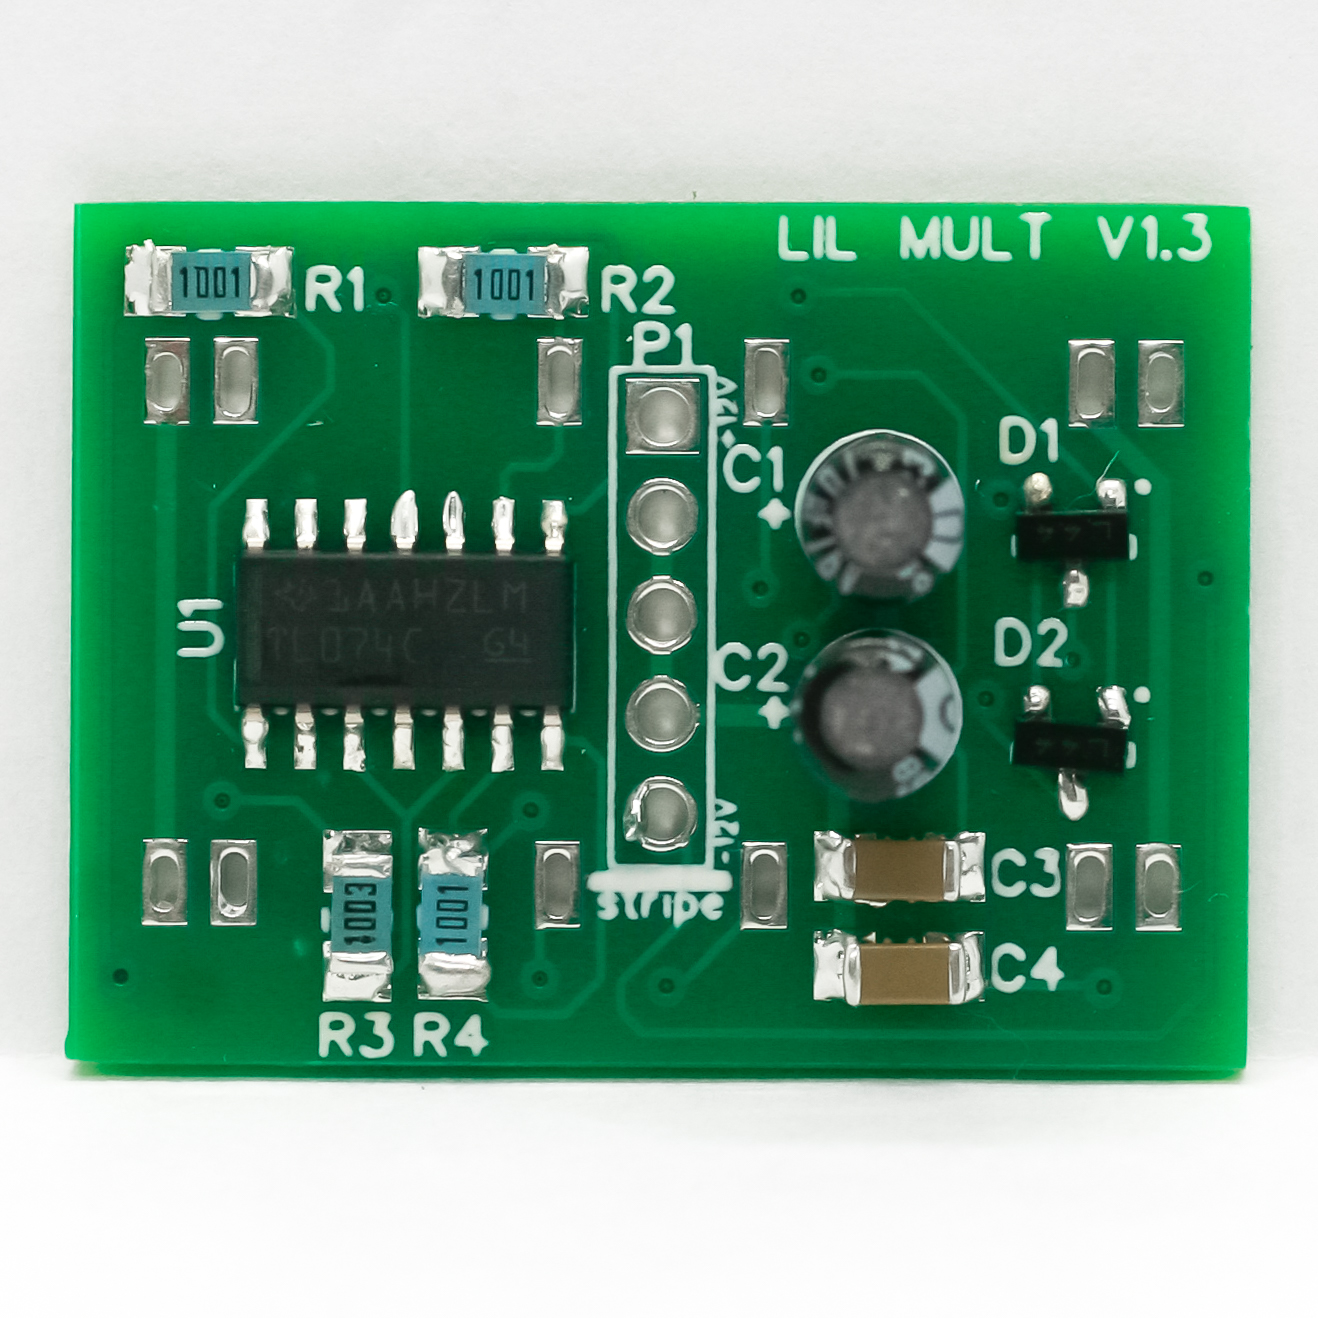
LIL Mult Electrolytic Capacitors
Power Header
Take the power header and place the short leads into the board as shown below, turn over to solder in place.
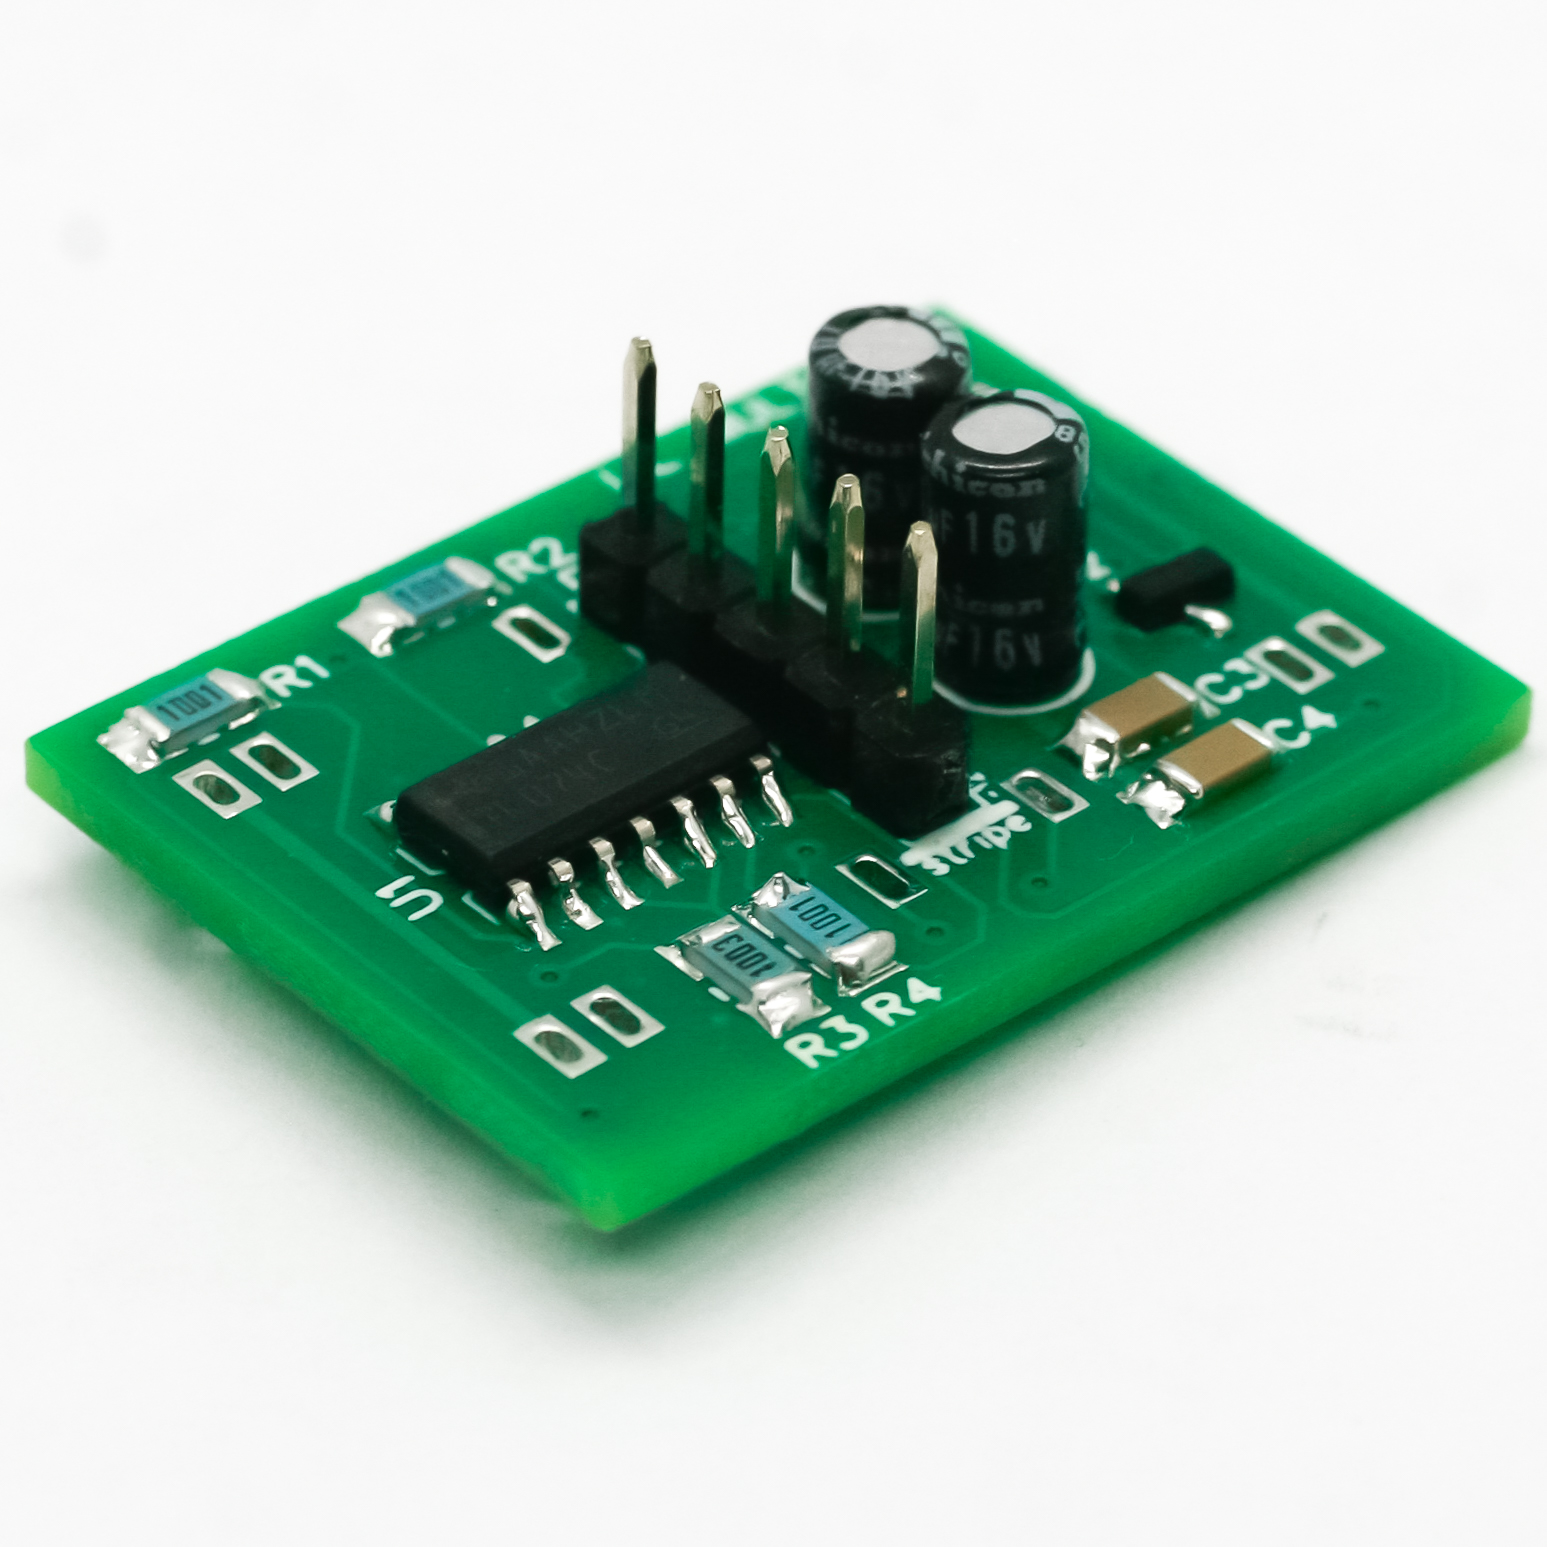
Lil Mult Power Header
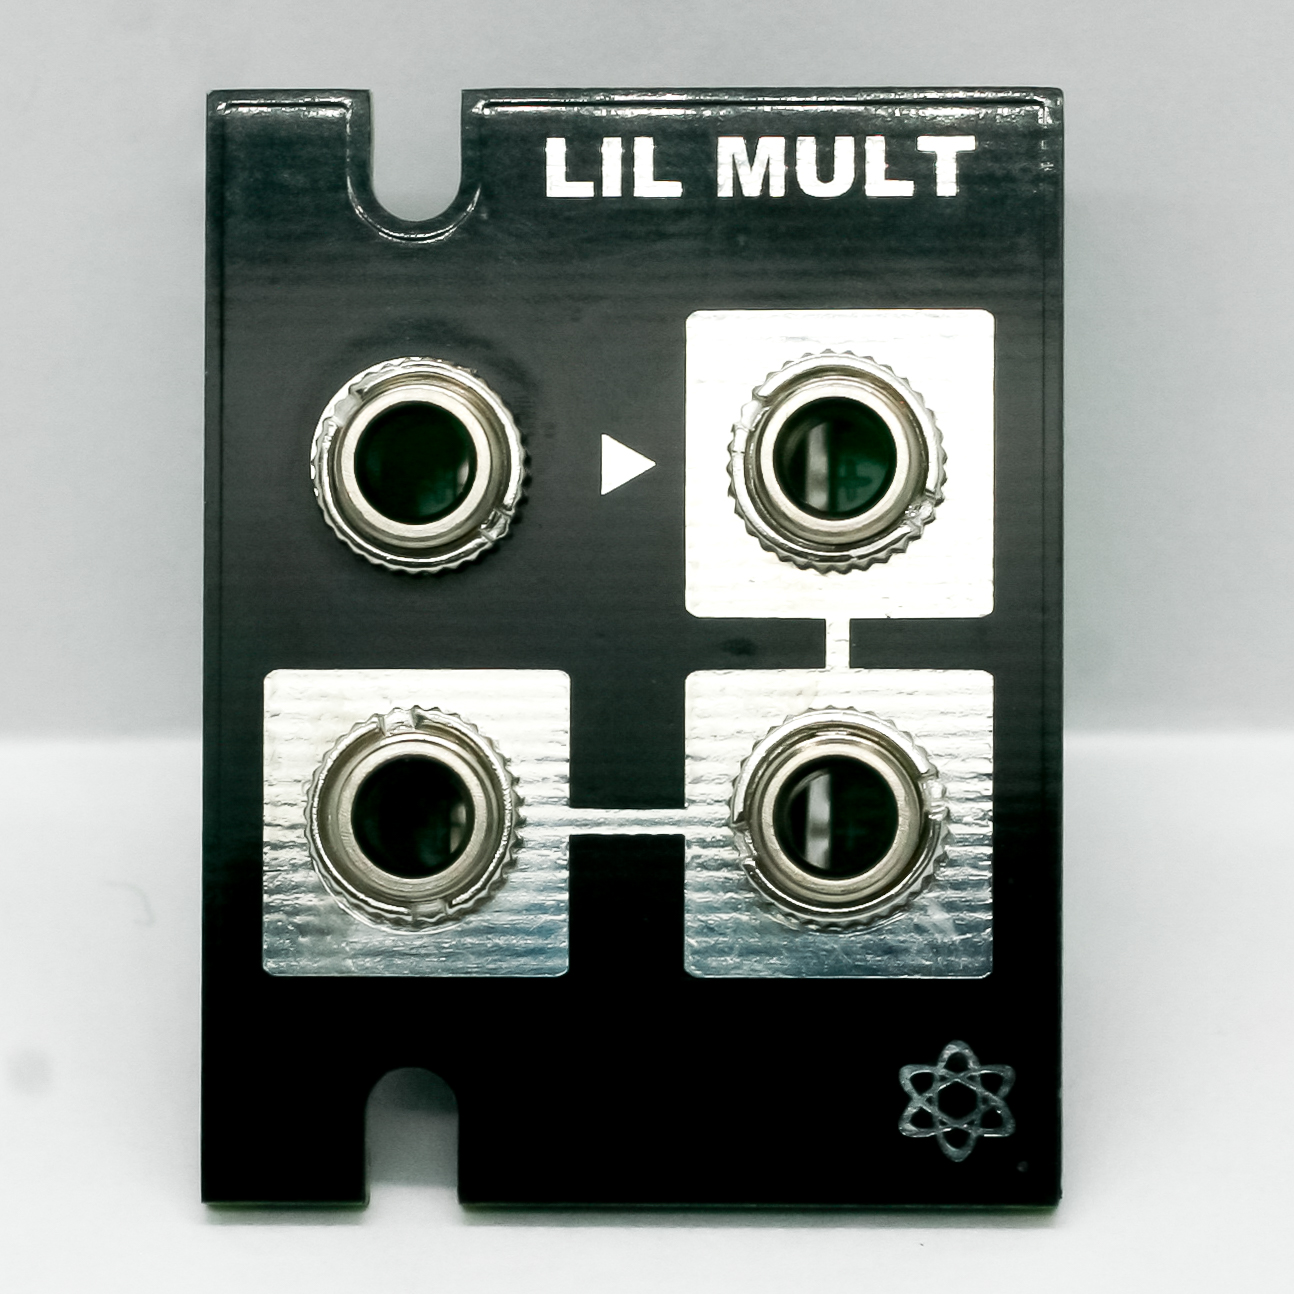
Jacks
Place the jacks into the PCB then place the panel over the jacks to solder in place. J1 is the input jack.

Lil Mult Jacks

Lil Mult Panel Placement
Congrats! You are done with your build. You can now test the module. Make sure that you connect your power cable properly (red stripe down), plug it in, and start multing!
Lil Mult Complete