


Important Links
In this tutorial, we’re going to show you how you can make your own S-Trig cable!
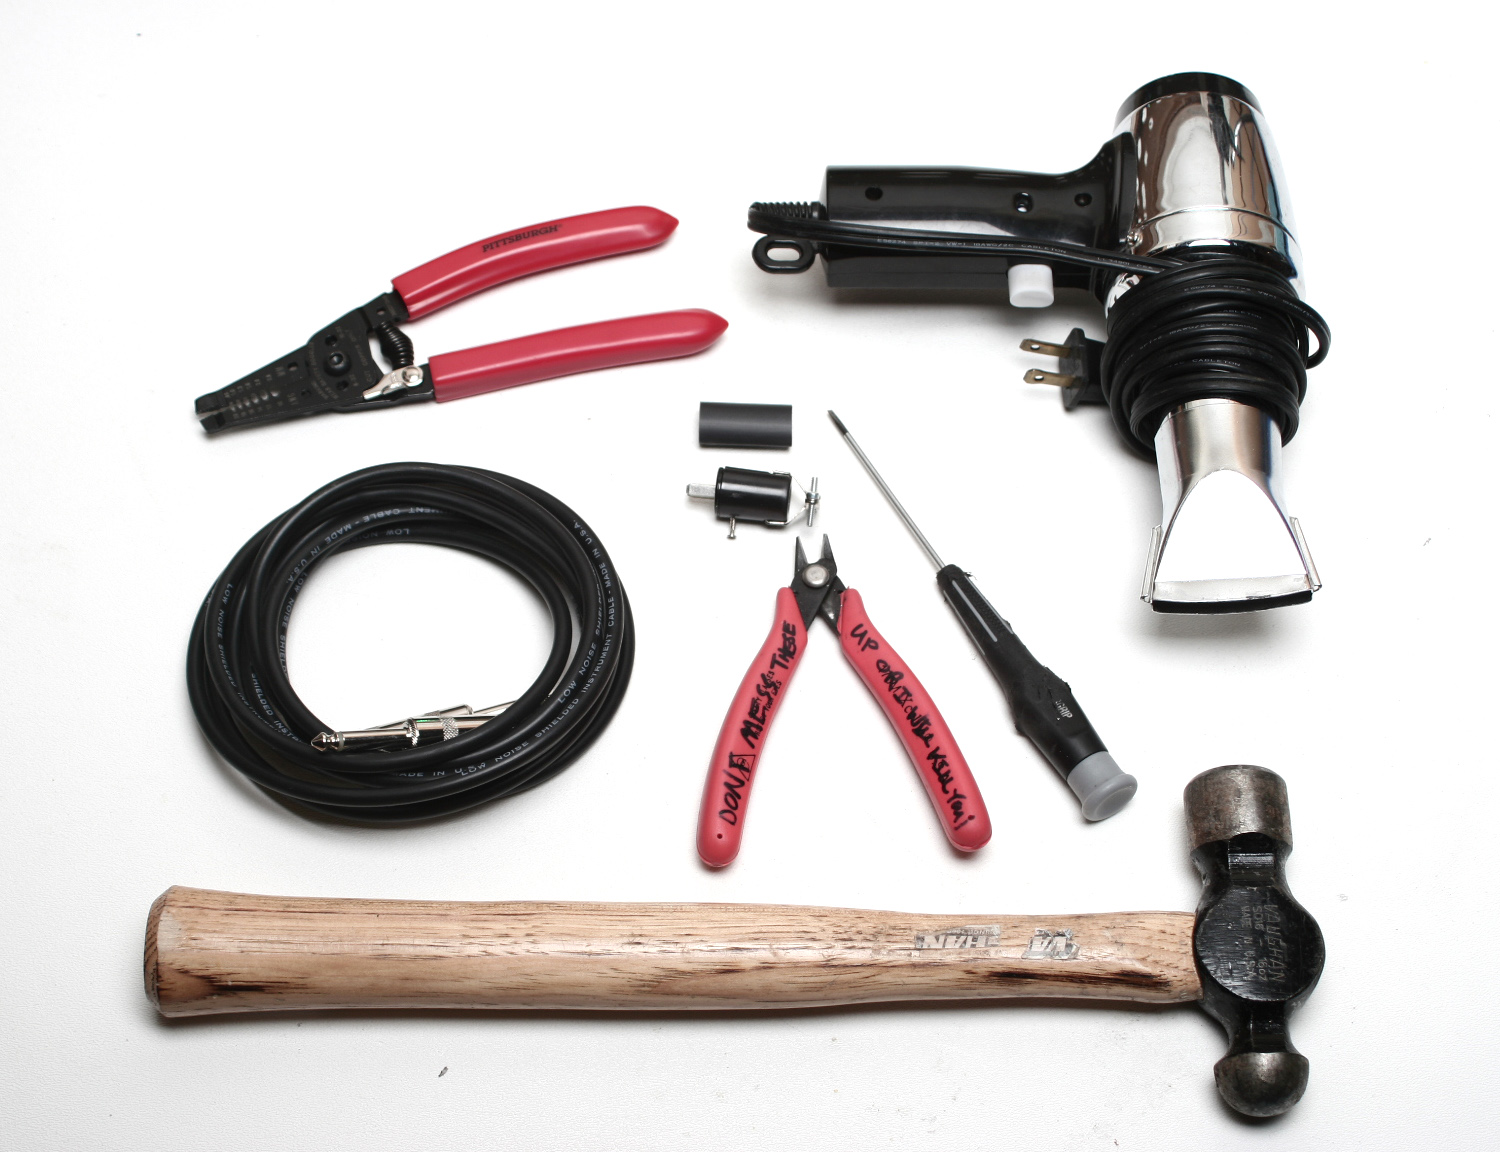
You will need a 1/4″ mono TRS (guitar) cable, male/female two-conductor cinch jones connector, wire snips, a hammer, and a small flathead screwdriver. A multimeter is highly recommend for testing continuity, and we also recommend applying heat shrink tubing with a heat gun for optimal aesthetics and durability. Let’s get started!
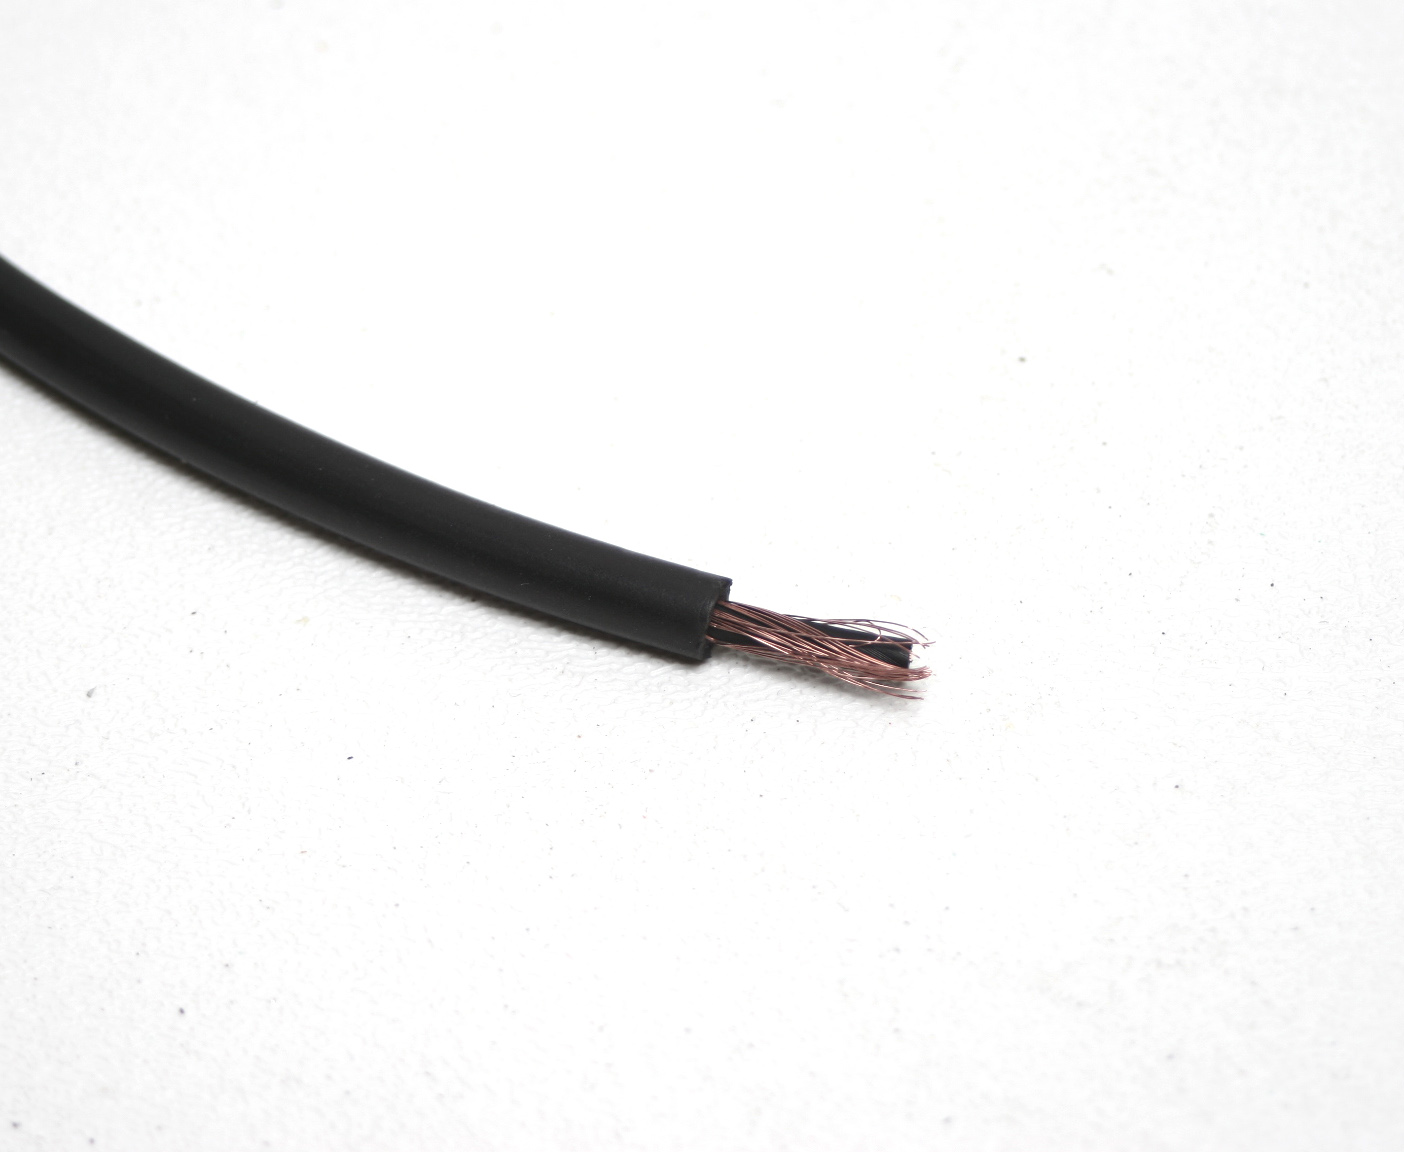
Cut your 1/4″ cable to the desired length and carefully strip a small section of the outer insulation – tread lightly as the ground wire is delicate and easily severed.
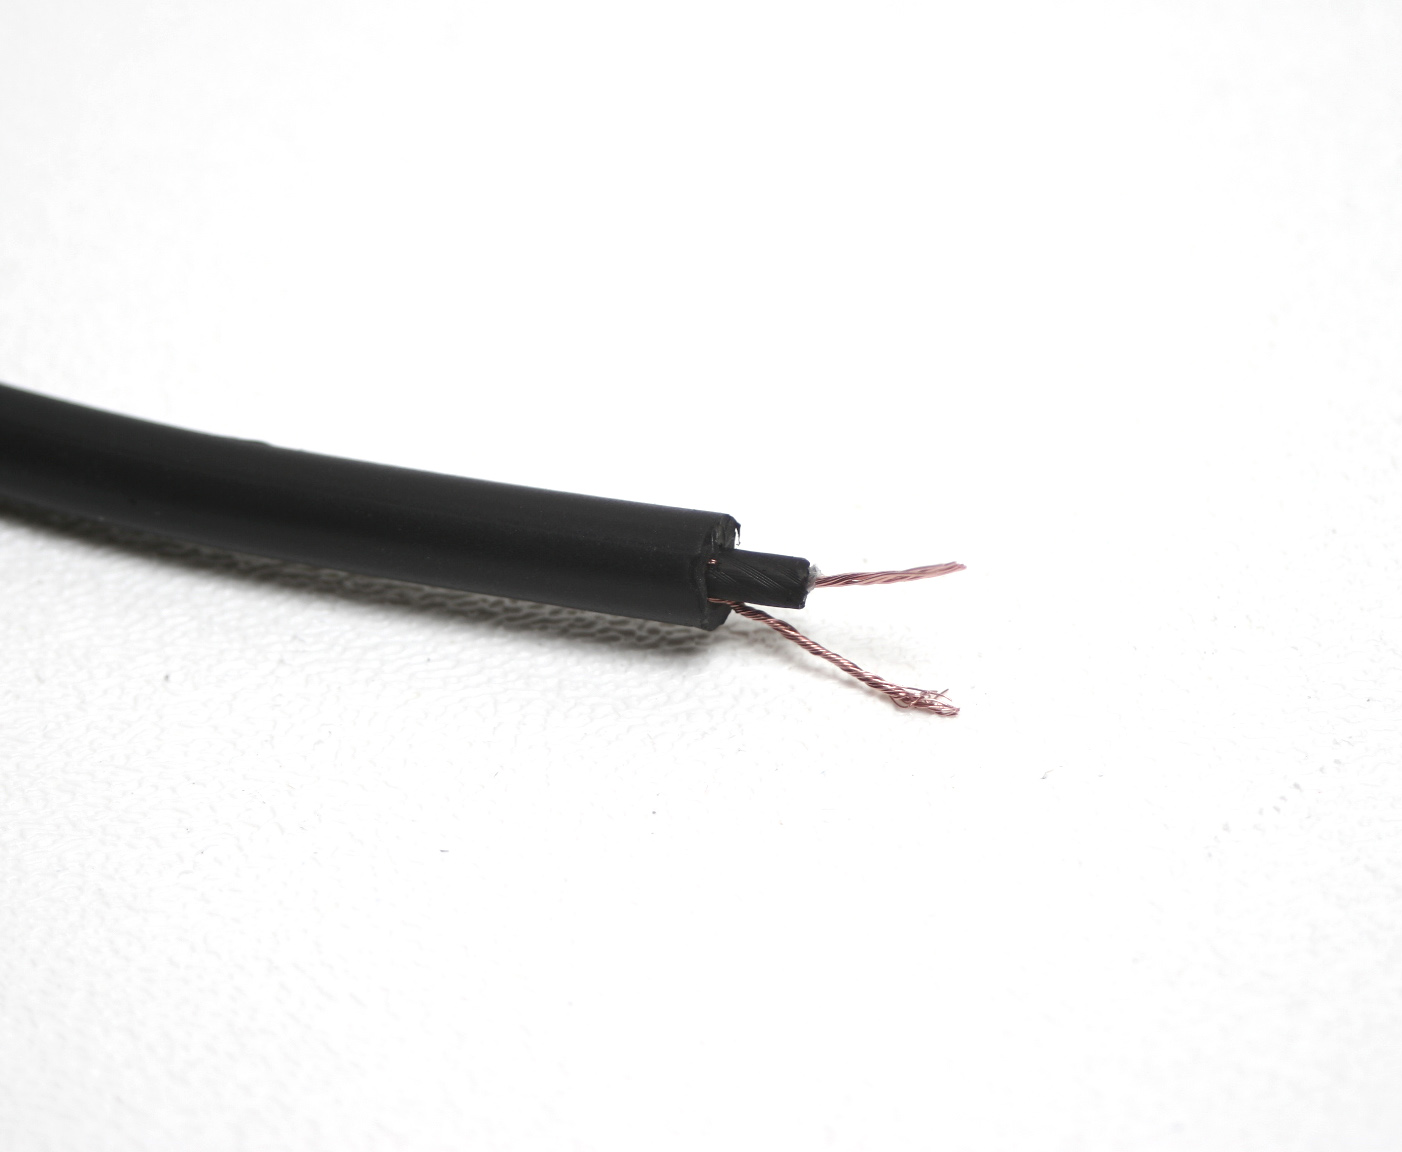
Twist the exposed ground wire and strip a portion of the insulation from the inner signal wire.
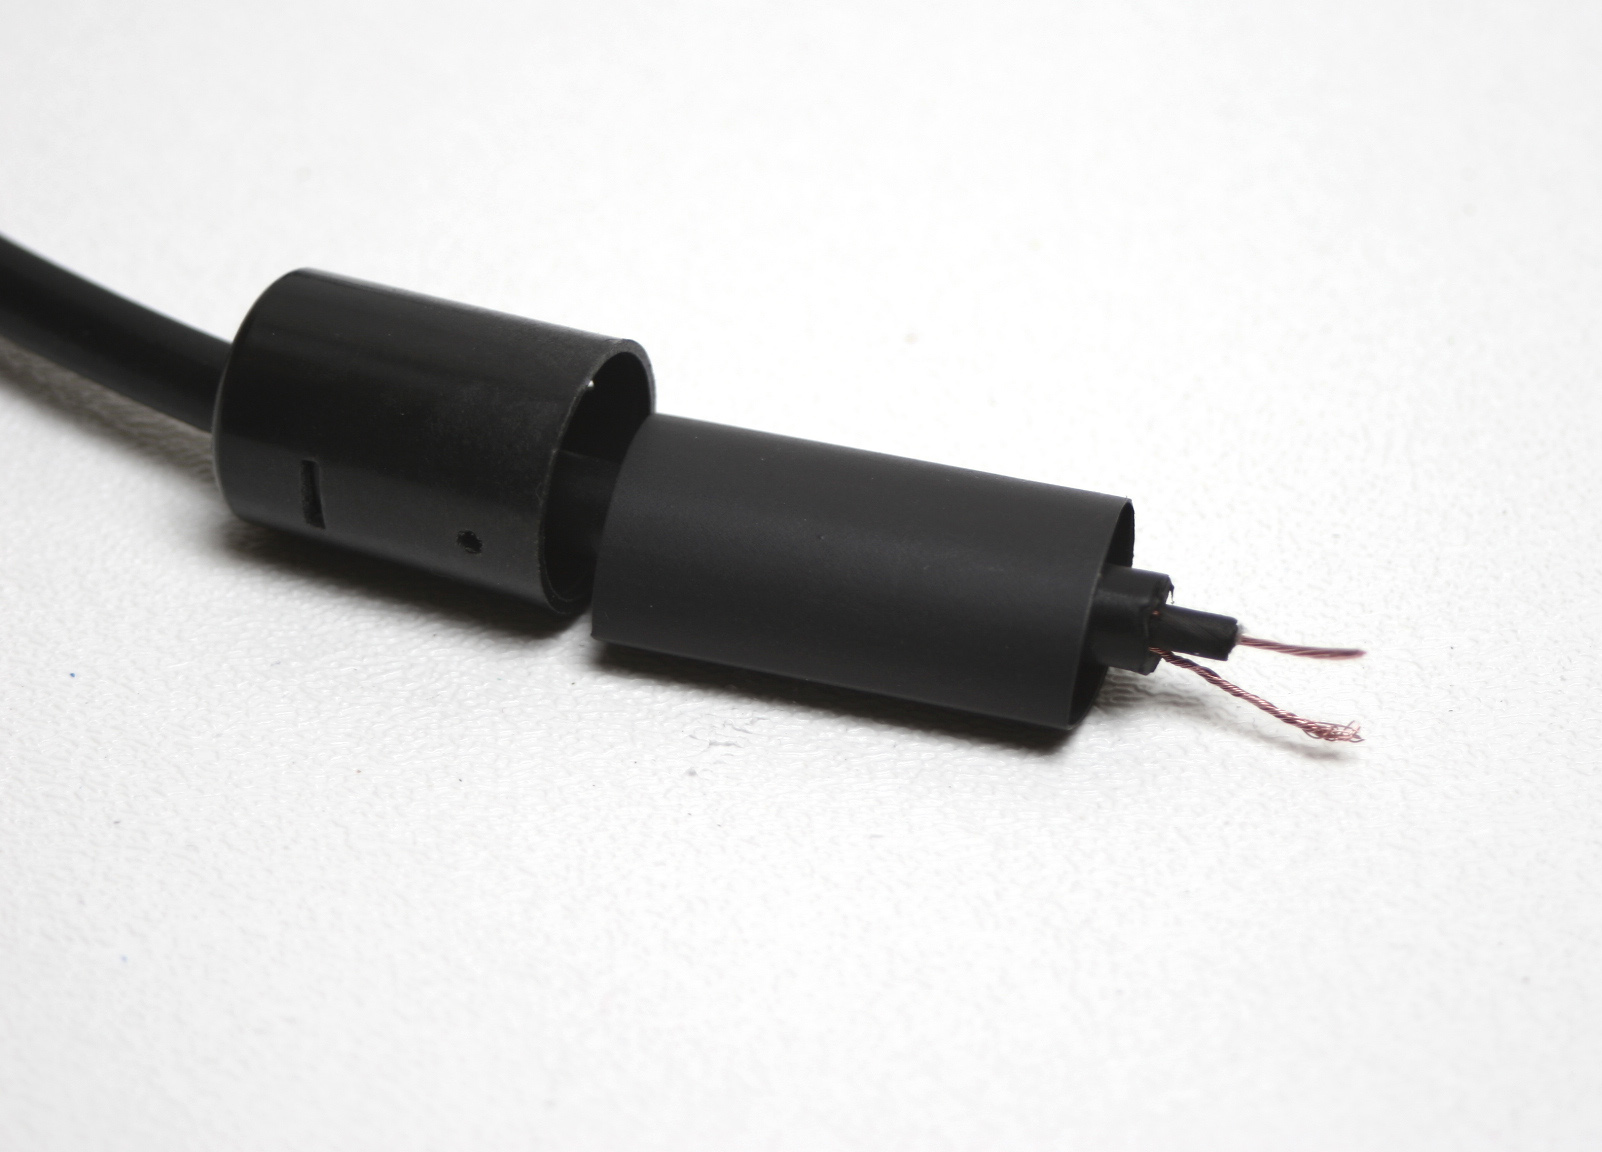
Slide the casing and heat shrink tubing over the cable prior to soldering.
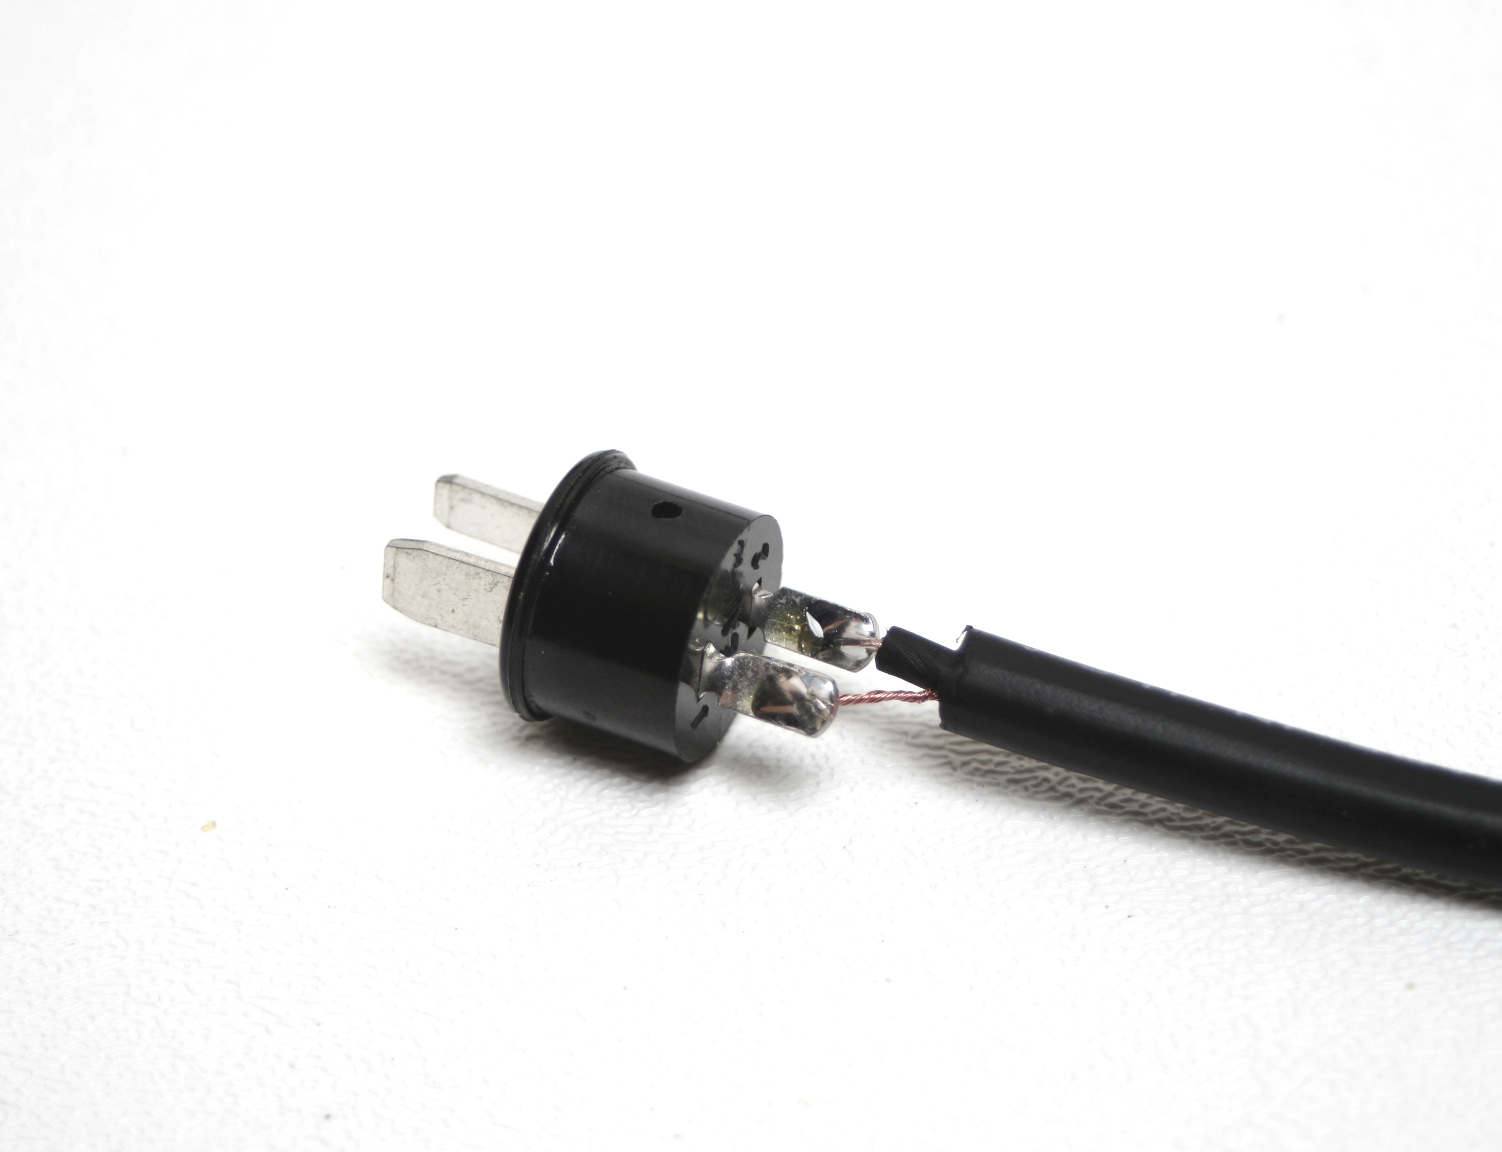
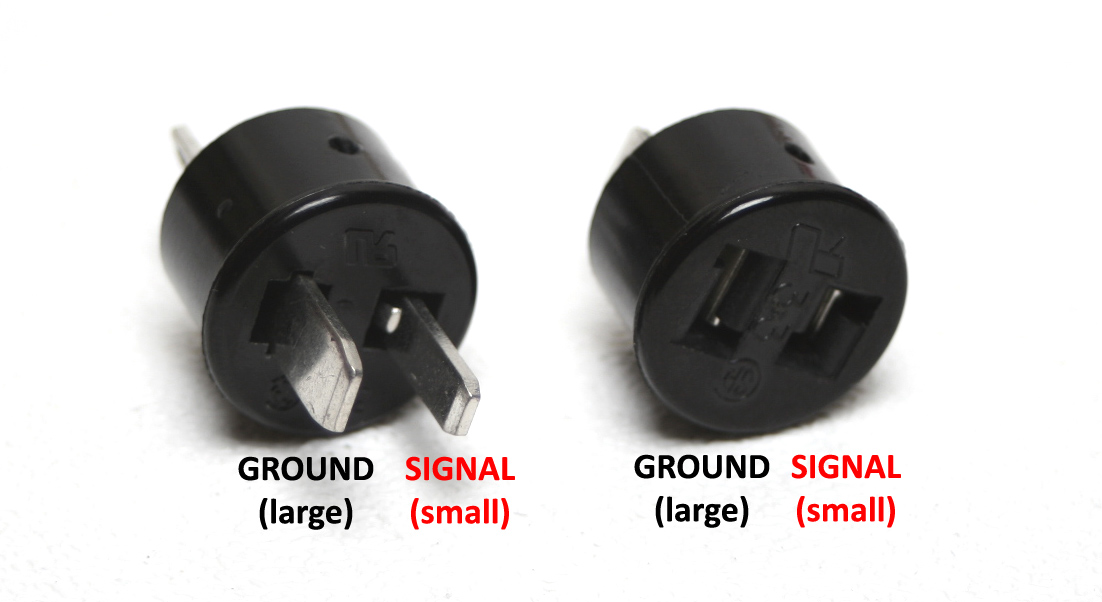
Solder the outer wire to the larger pin and the inner wire to the smaller pin. Trim the excess wire from both solder lugs. It is advisable to check continuity with a multimeter after soldering. Use the following diagram for reference polarity orientation:
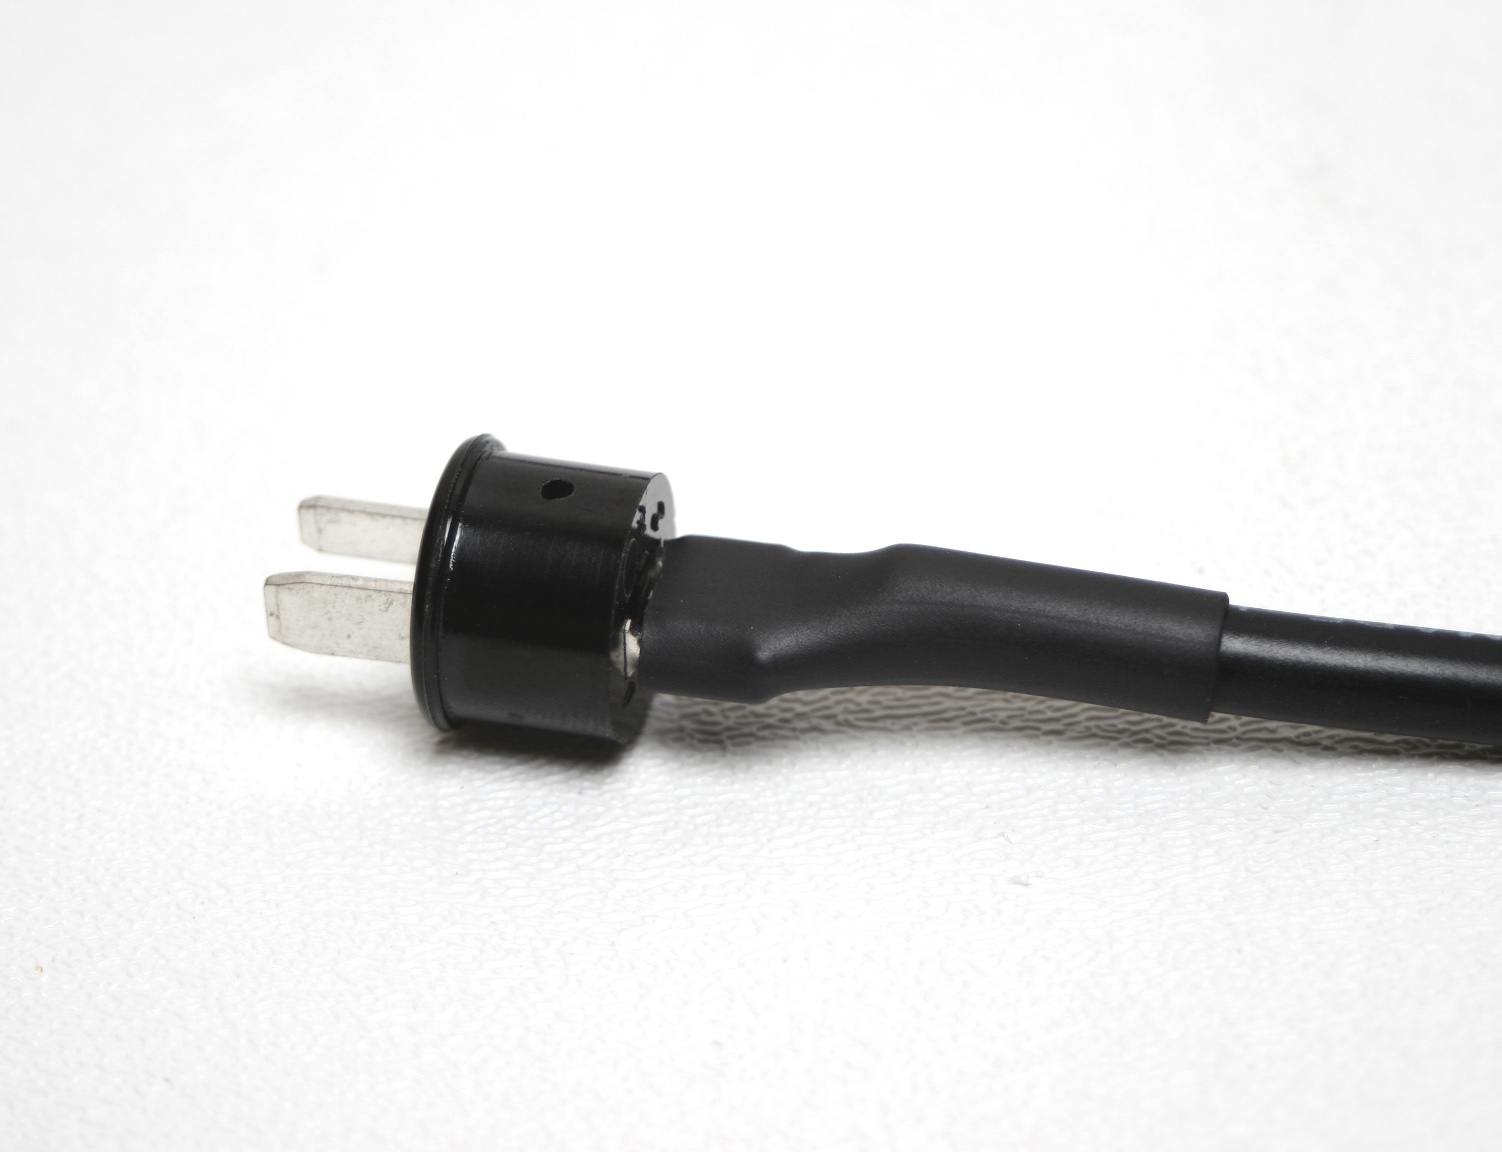
Slide the heat shrink tubing to the end of the cable until it is flush with the connector and use a heat gun to secure it in place.

Slide the casing into place, partially inserting the nail to maintain proper alignment. Insert the two halves of the strain relief clamp into the casing and secure with the included screws.
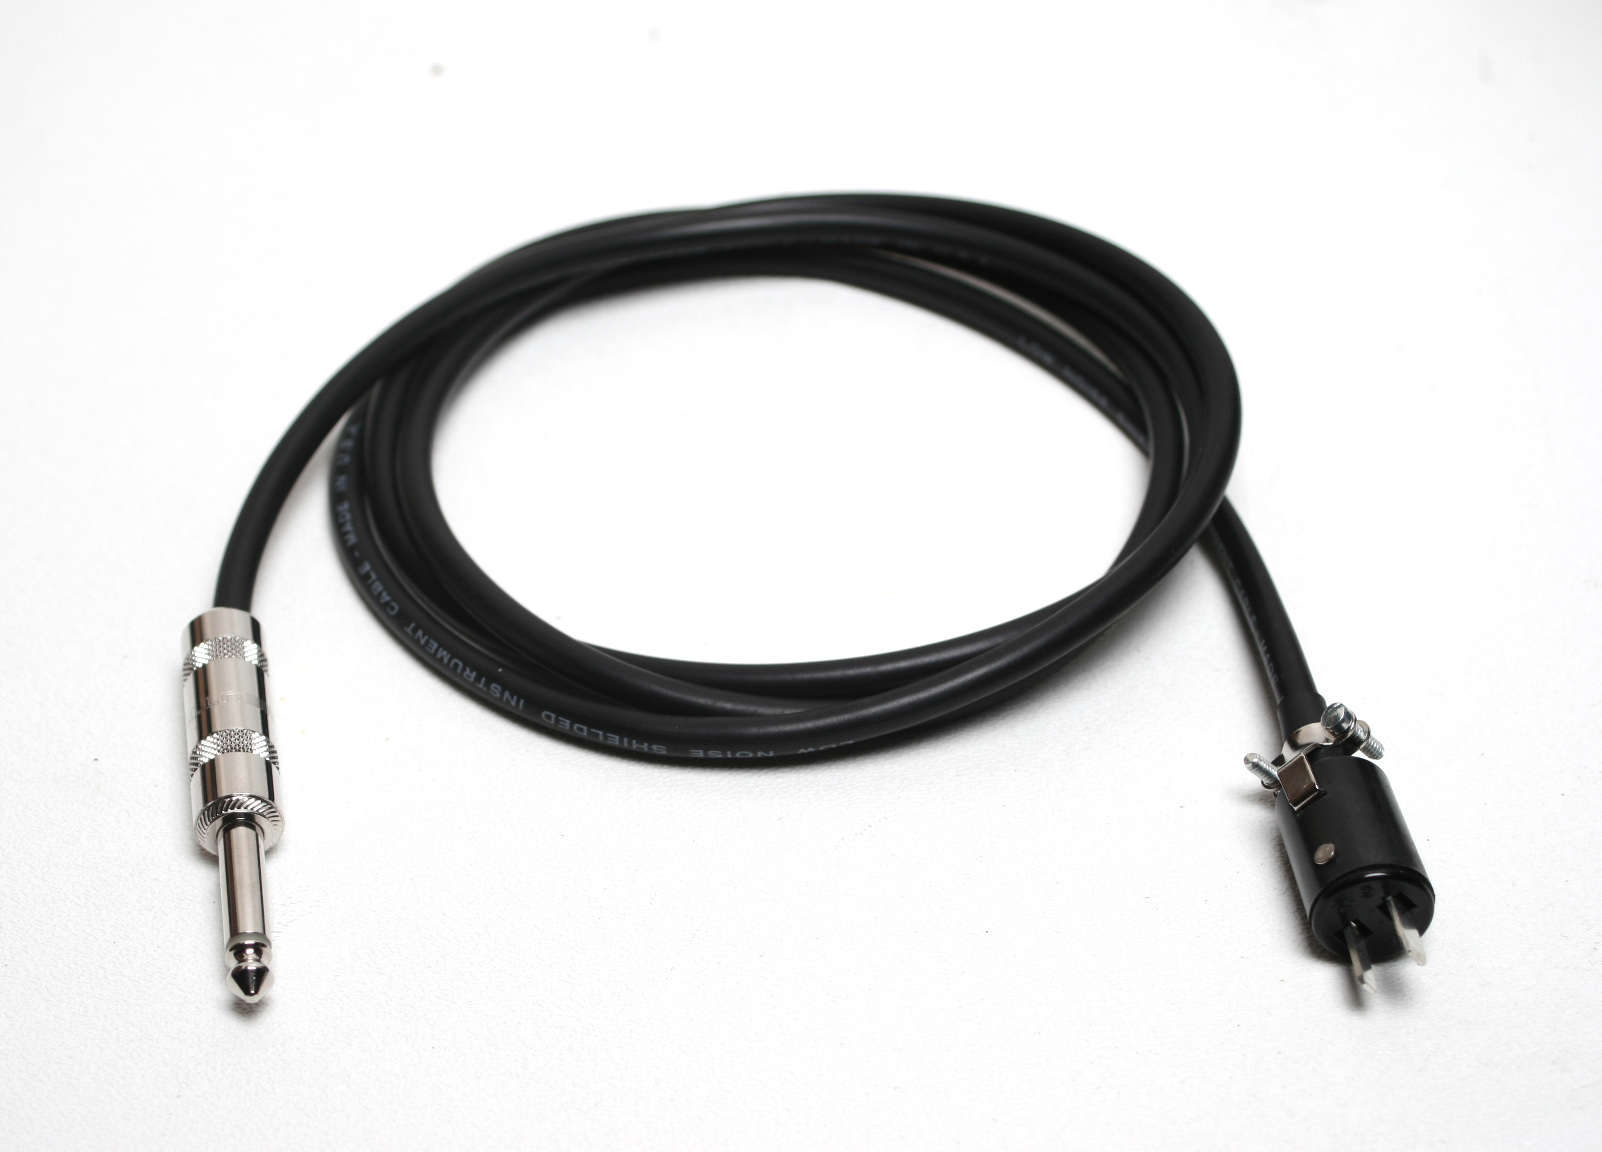
Hammer the nail in place once the screw clamp is installed and your cable is complete! It is recommend to check continuity with a multimeter once the nail is place, as in rare instances the nail can sever or short the internal connections.