


TS2 ASSEMBLY INSTRUCTIONS
Thank you for purchasing the Synthrotek TS2 – Eurorack Banana jack power tester. This is an intermediate build as there are a few surface mount resistors. If you feel like you can handle it, please proceed! If not, get some help from a friend with experience or purchase a fully completed unit.
Please build according to the BOM, and not these instructions or the pictures alone. Some components may have changed since these were written, or we may not be able to get the exact components in the pictures.

For a BOM with Mouser part numbers, click here.
SURFACE MOUNT RESISTORS
Carefully solder down the 3 surface mount resistors (R1, R2, R3) into place.

TS2 – surface mount resistors
SURFACE MOUNT Power Header
Carefully solder down the surface mount 16-pin power header.

TS2 Surface Mount Power Header
LEDs
Place the three LEDs through the PCB and solder in place by by aligning the flat side of the LED (cathode) toward the edge of the board closet to the LEDs.

TS2 LEDs
BANANA JACKS
Take the provided resistor clippings and bend four “candy cane” style leads.
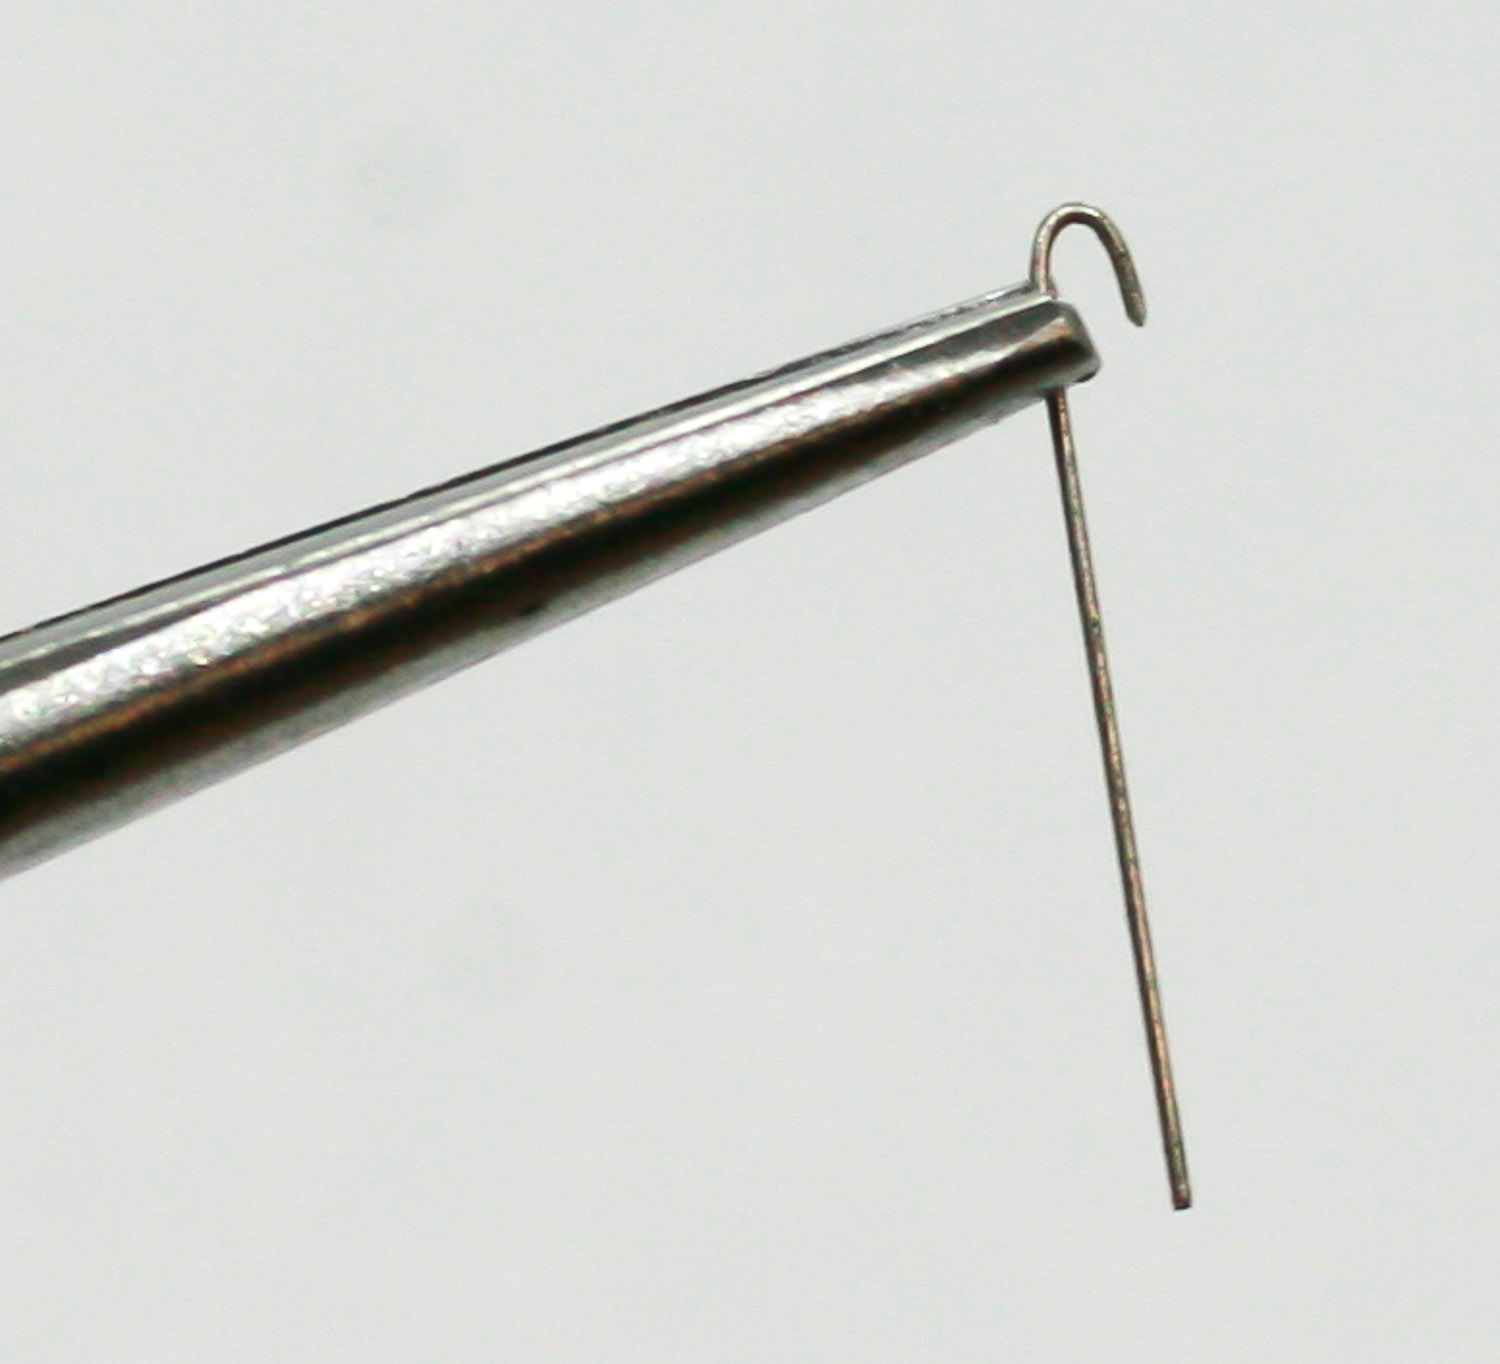
TS2 Lead Bending
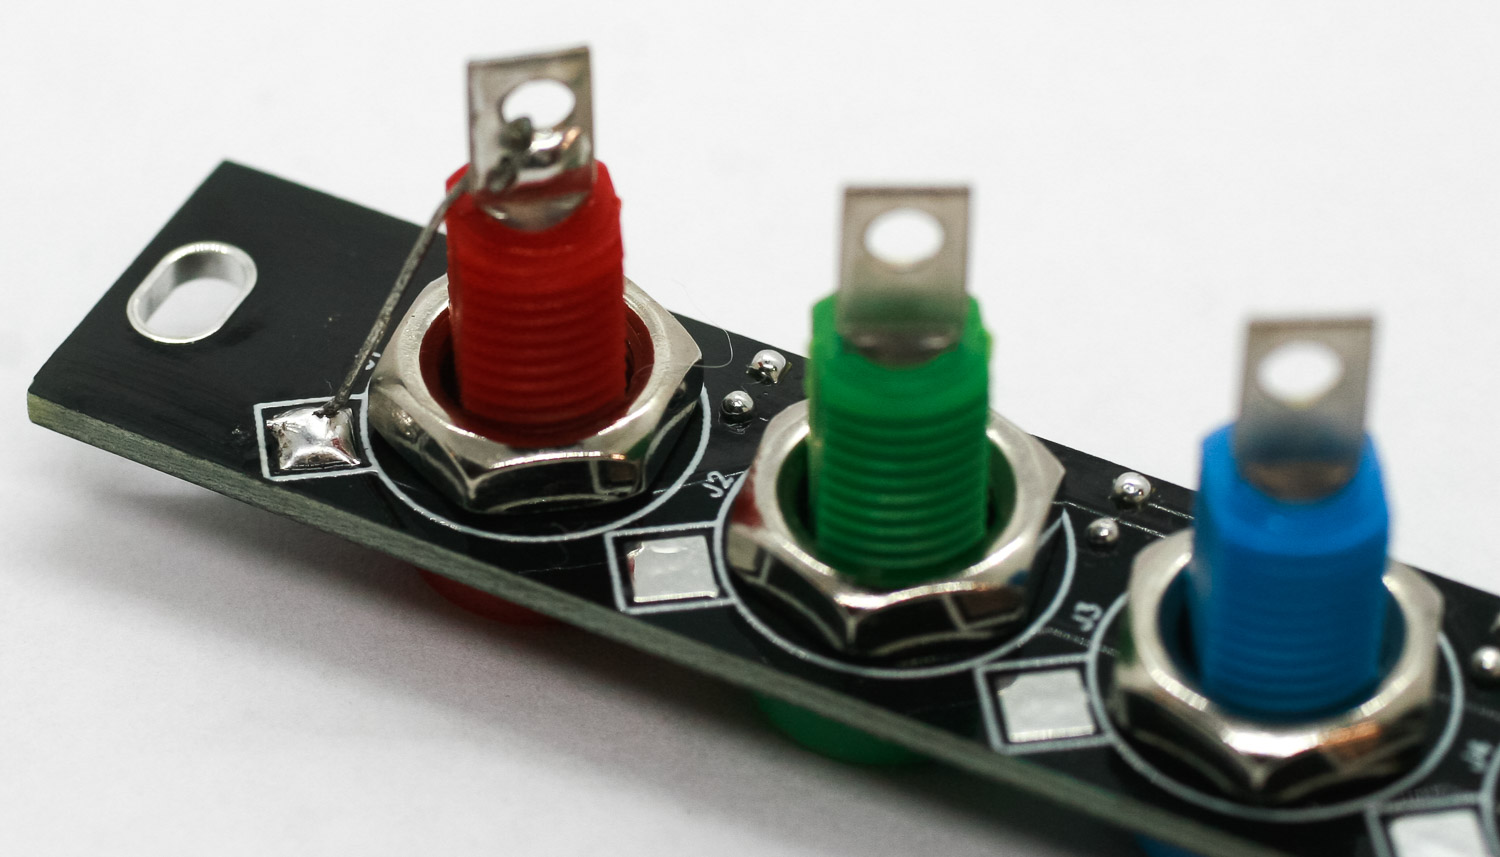
Place the Banana Jacks into the PCB as shown below and tighten down the nuts. Then take the “candy cane” leads and hook them through the Banana jacks as shown below. Solder to the banana jack, then clip the lead so that it connects with the pad on the board and solder it to the pad.
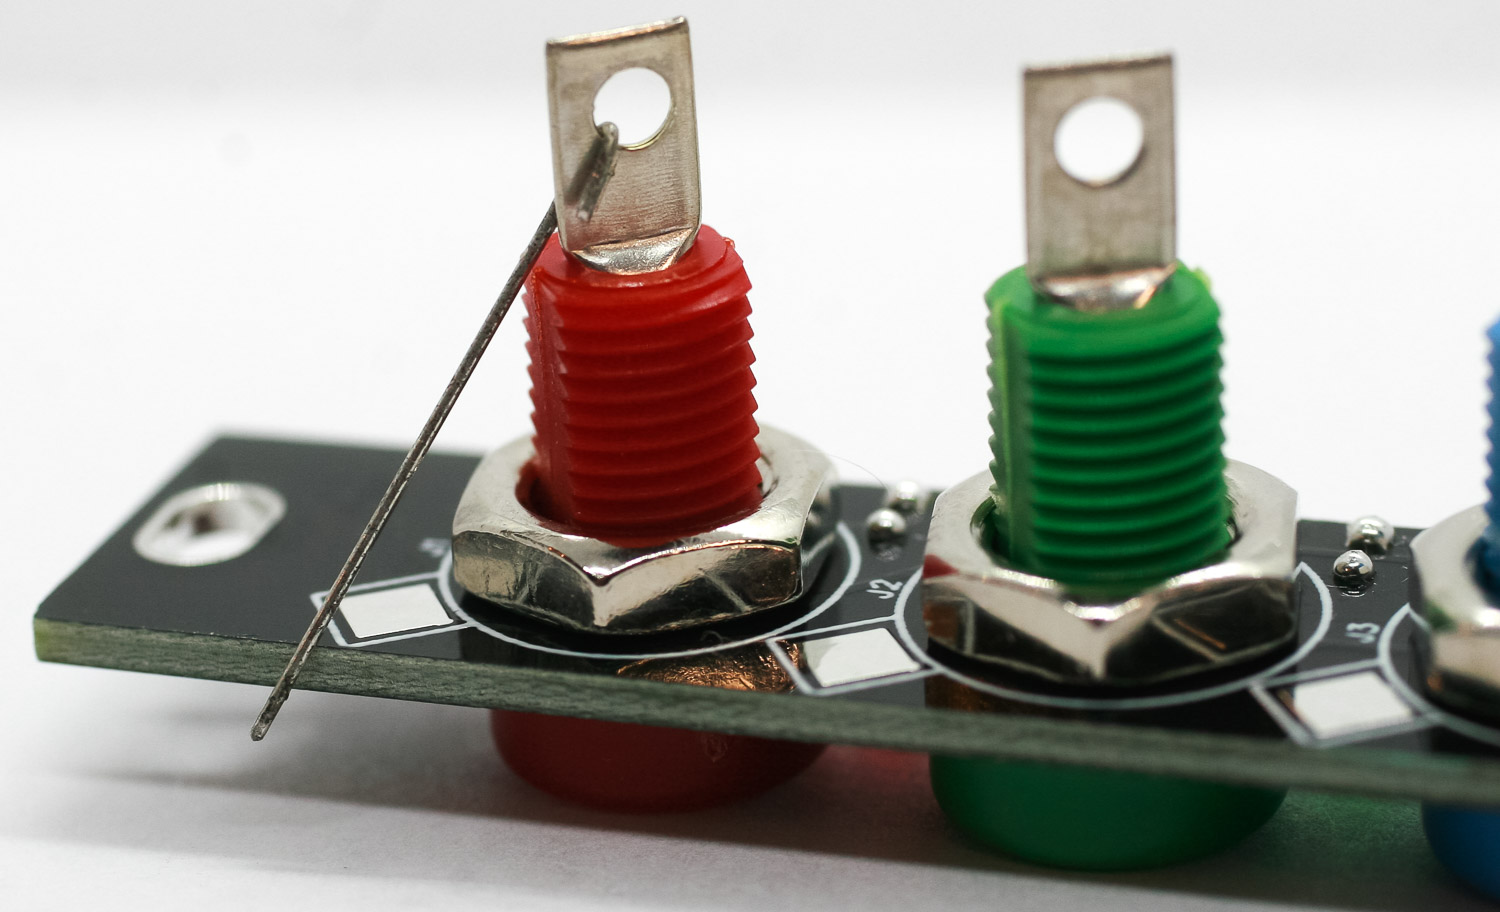
TS2 Banana Leads
TS2 Banana Jack Soldering

TS2 Banana Jacks
THROUGH HOLE POWER CONNECTOR
Place and solder the through hole 16-pin power connector as shown below. After that you are done and ready to test your module!
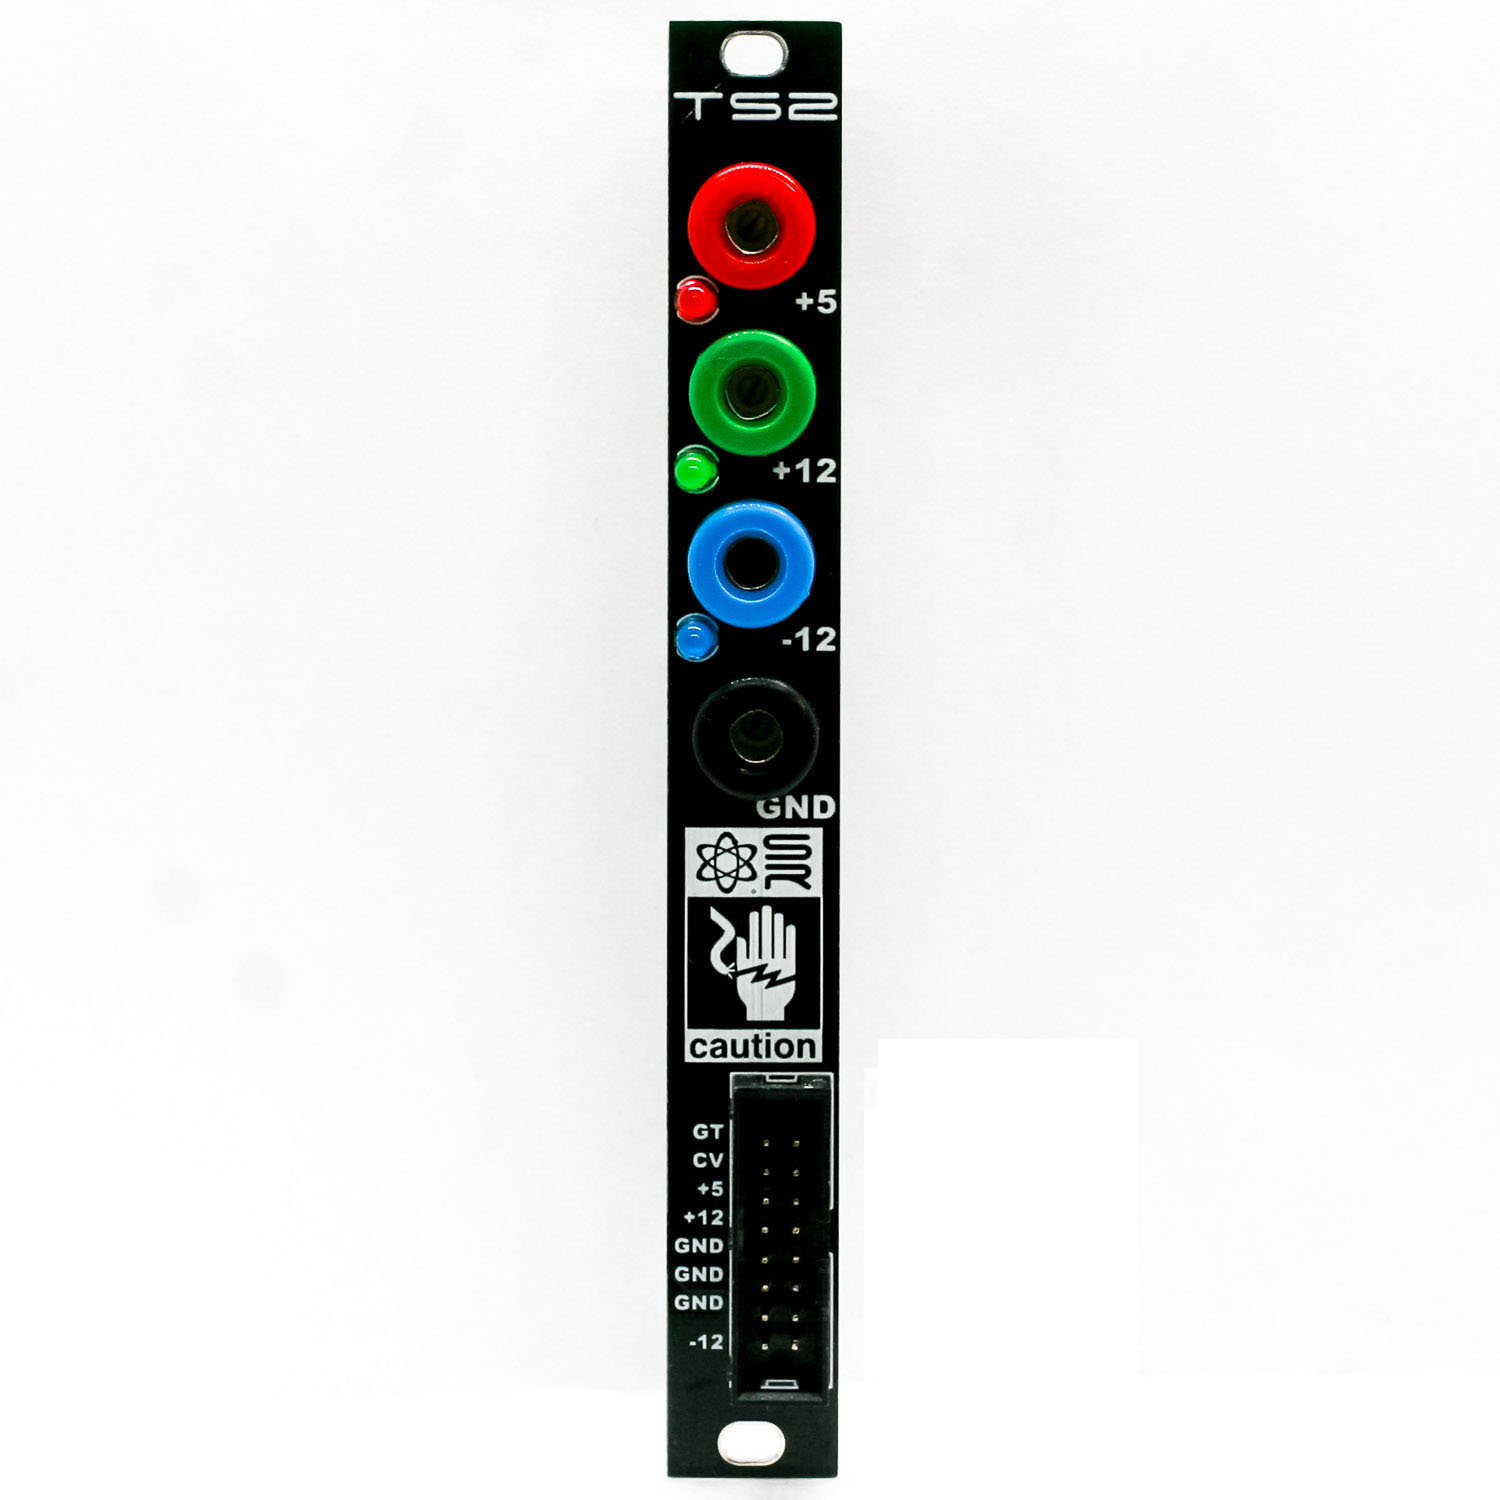
TS2 Final Build