


Mini Eurorack Power Distribution Board Assembly
Thank you for purchasing the Synthrotek Mini Power Distro Board Kit. This is an easy build. If you feel like you can handle it, please proceed! If not, get some help from a friend with experience or purchase a fully completed unit.
Please build according to the BOM, and not these instructions or the pictures alone. Some components may have changed since these were written, or we may not be able to get the exact components in the pictures.
 Click here for a bill of materials with Mouser part numbers.
Please note: this build has pretty thick traces and a big ground plane. It definitely helps to pre-warm the PCB before soldering anything! If you are having trouble getting the solder to flow, try that. And definitely expect to hold the soldering tip down on the board a little longer than usual.
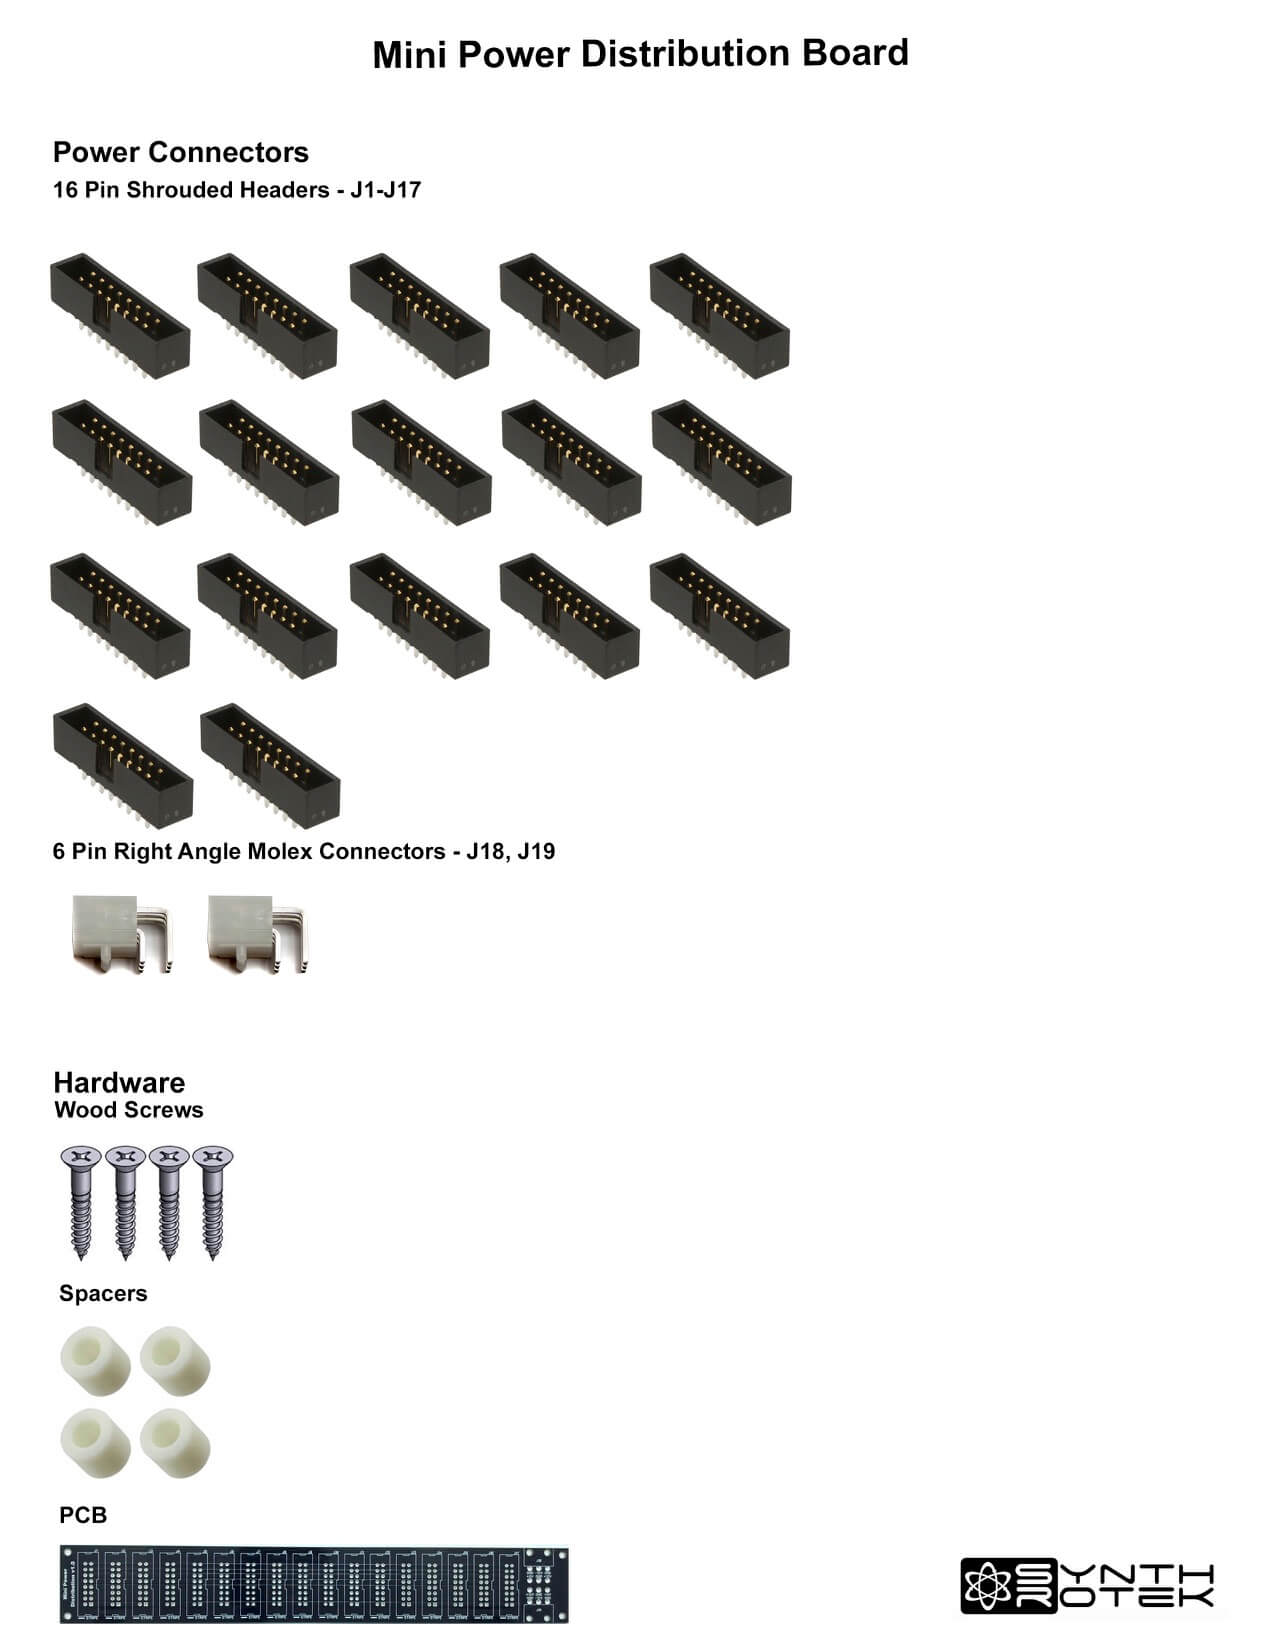
This is a fairly straightforward build. First start with the 17 keyed power connectors. The most important thing is to make sure that the key on the connector is aligned with the notch on the PCB silkscreen. Once you have placed the power connectors into the PCB (the correct way!), you can use a piece of cardboard to place over all the connectors in order to easily turn the project over.
Solder one pin of each header, then check and make sure the headers look ok. Now is a good time to warm the board back up. You can then solder all of the pins in place from the rear.
Once you do that, simply place the molex connectors in and solder in place. That’s it!!

Mini Eurorack distro board