


Important Links
Store Page
Assembly Instructions
Bill of Materials
Capacitor & Resistor Lookup Guide
Thank you for purchasing the Synthrotek Eurorack BUS CHEEKS kit! Assembling these cheeks includes soldering surface mount headers and tacking down resistors and LEDs. If you feel like you can handle it, please proceed! If not, get some help from a friend with experience.
Synthrotek Eurorack Bus Cheeks
Resistors
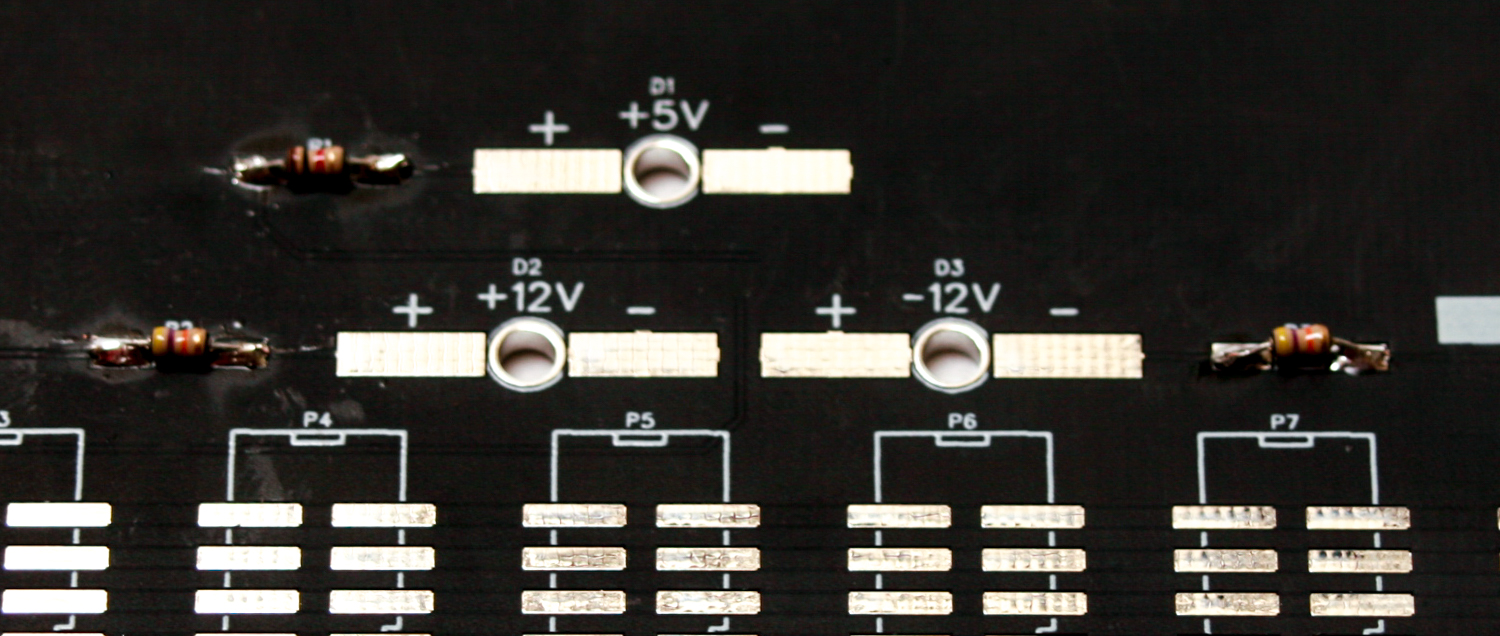
Bus Cheeks 1/8W Resistors
First add a small amount of solder to the pads on one side of R1, R2 and R3. This is called “tinning,” and will help in tacking down the 1/8th watt resistors. Now place the resistors on the pads and solder the side that you tinned first, then solder the other side down. These resistors are non-polarized, so you can put them in either direction. Carefully clip the excess resistor leads.
SMT EURORACK POWER HEADERS
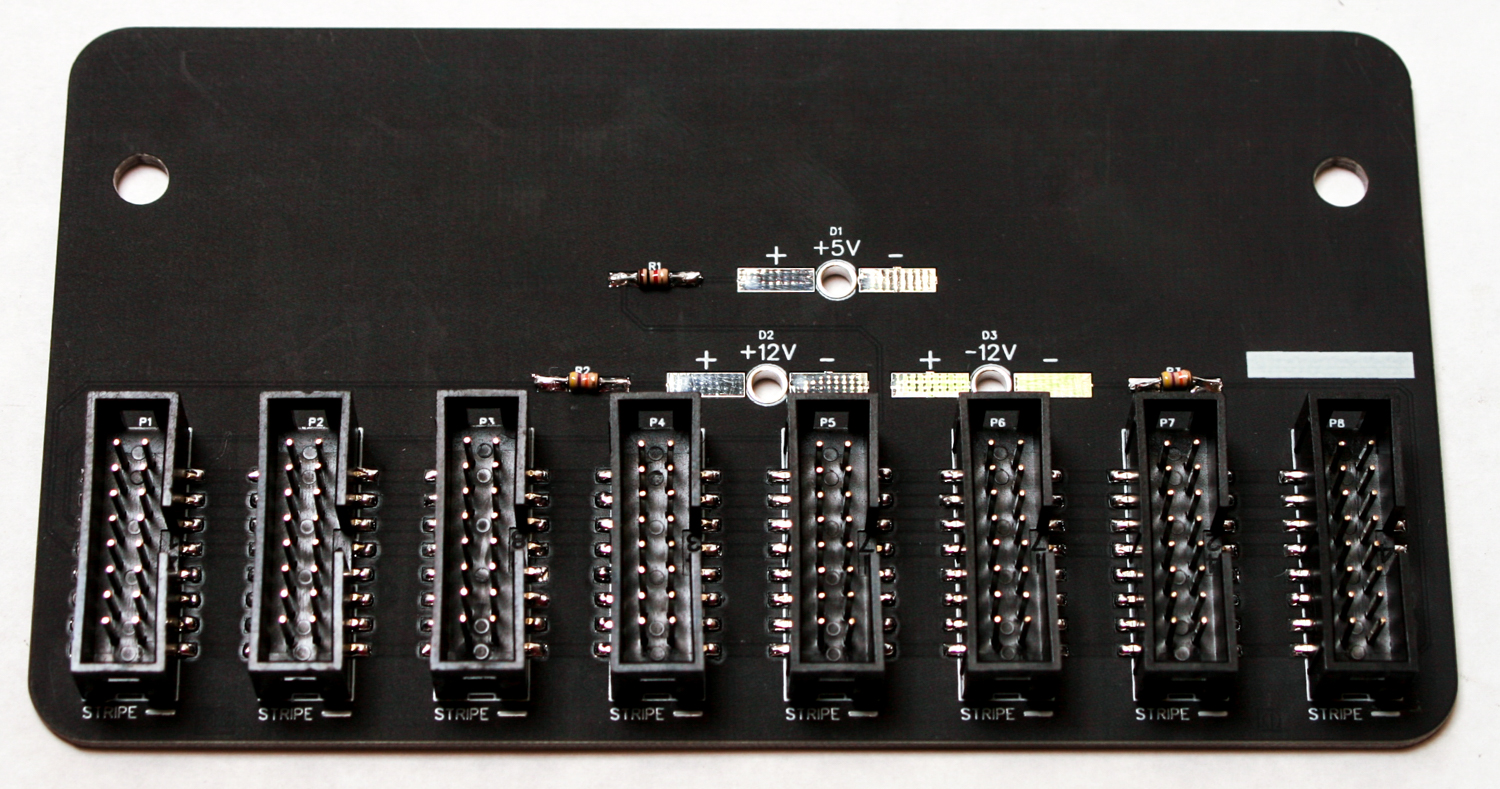
SMT Eurorack Power Headers
The SMT Power Headers are close together so you will need a fine tipped soldering iron and steady hands so that you don’t melt the shrouded headers. If you’ve been guzzling coffee and are a little shaky, come back to this part later!
Do these one header at a time. First, tin one of the pads on the SMT Eurorack Power Header. Place the SMT power header and align the notch of the header with the notch on the PCB silkscreen (it’s hard to see, but it is there!). Orientation matters here! Reflow the tinned pad to secure the header in place, then solder all the pins carefully to the pads. When soldering in between two headers, it is helpful to solder in four joints on one side, then flip the cheek around and solder four on the other side.
LEDs
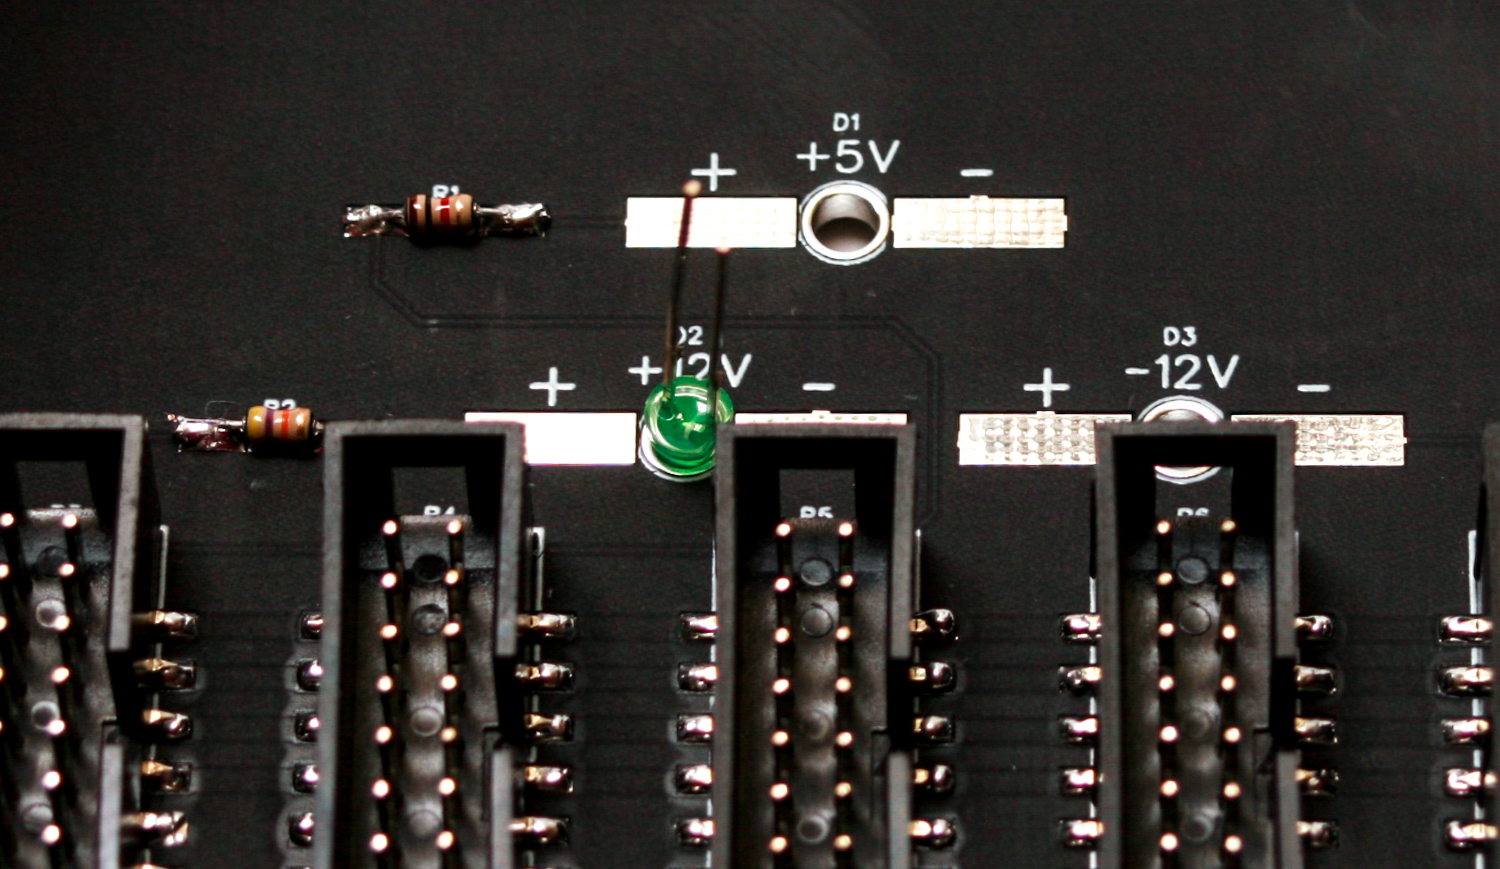
Bus Cheeks LED orientation
LEDs are polarized components, so when populating them, make sure that you align the flat side of the LED (the side with the shorter lead) with the “-” negative pads on the PCB.

Bus Cheek LED Soldering
Place the LEDs flush to the PCB, sitting straight, then solder everything in place and clip the excess leads. Do the same for all LEDs on both cheeks.
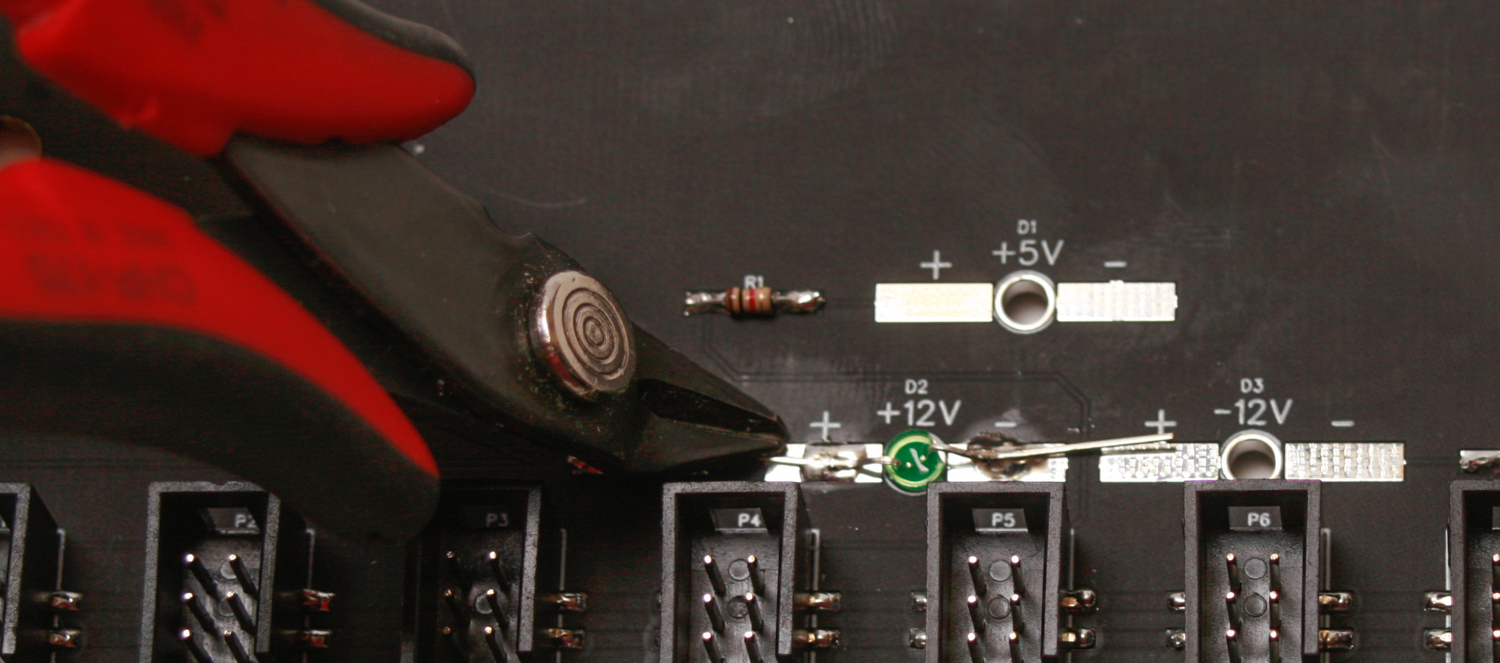
Bus Cheeks Lead Clipping
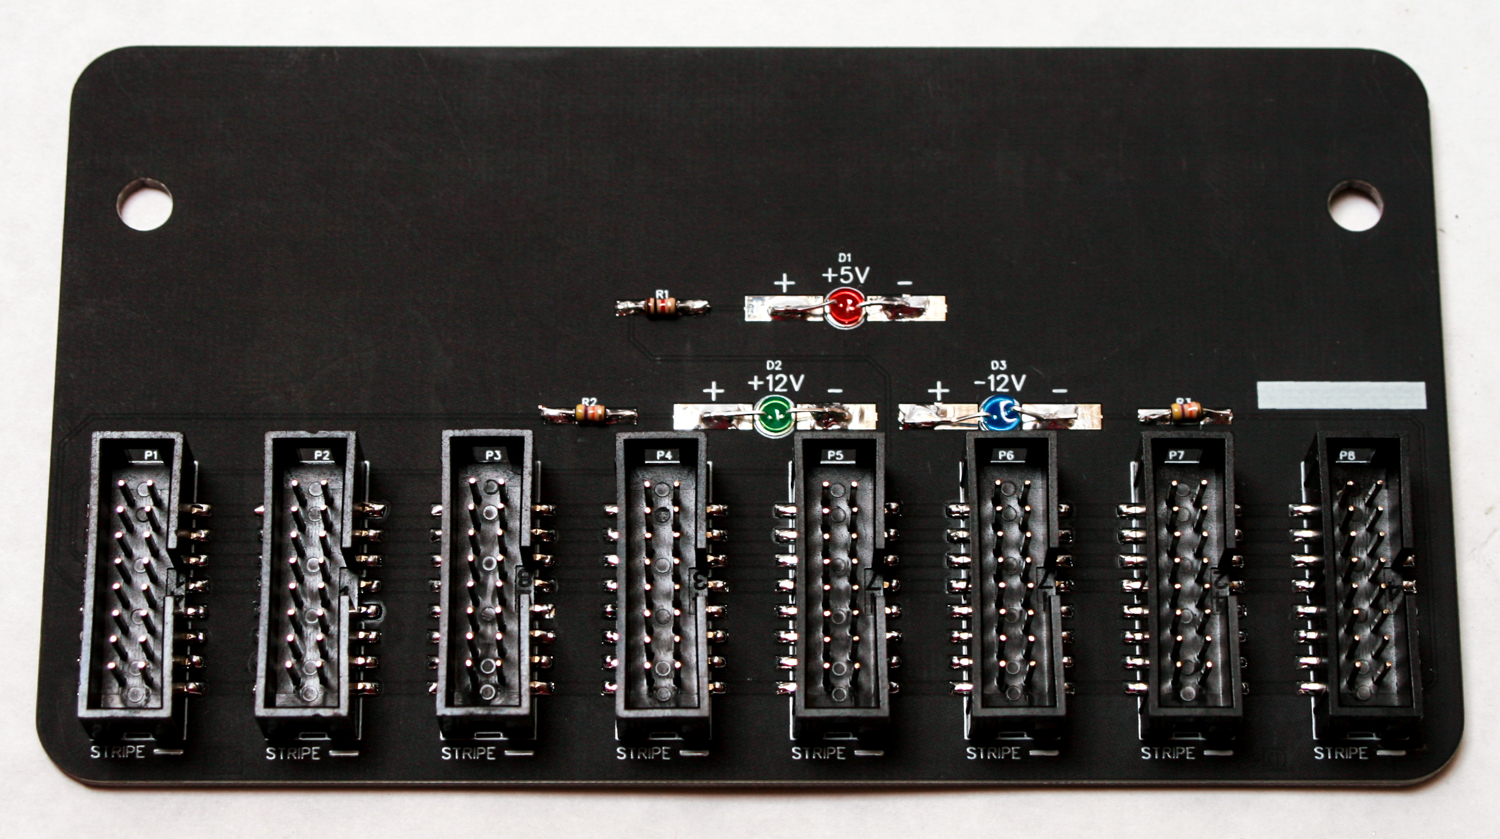
Bus Cheeks Soldered
Adding Synthrotek Rails
Bus Cheeks are made to accept Synthrotek brand Eurorack rails and Vector brand rails. You will need to purchase rails if you did not get them in your kit. Synthrotek rails include the needed 10-24 x 1″ screws when you purchase them from our online shop. You will also need to add your slide-nuts or nut strips prior to attaching the Bus Cheeks. Once you have have those items, attach the 10-24 screws through the two mounting holes on the cheeks to the mounting center notch on the rails as shown below. Make sure the slotted side of the rails face each other in the middle! Gently tighten and rotate before final hard tightening. Do this for both sides.
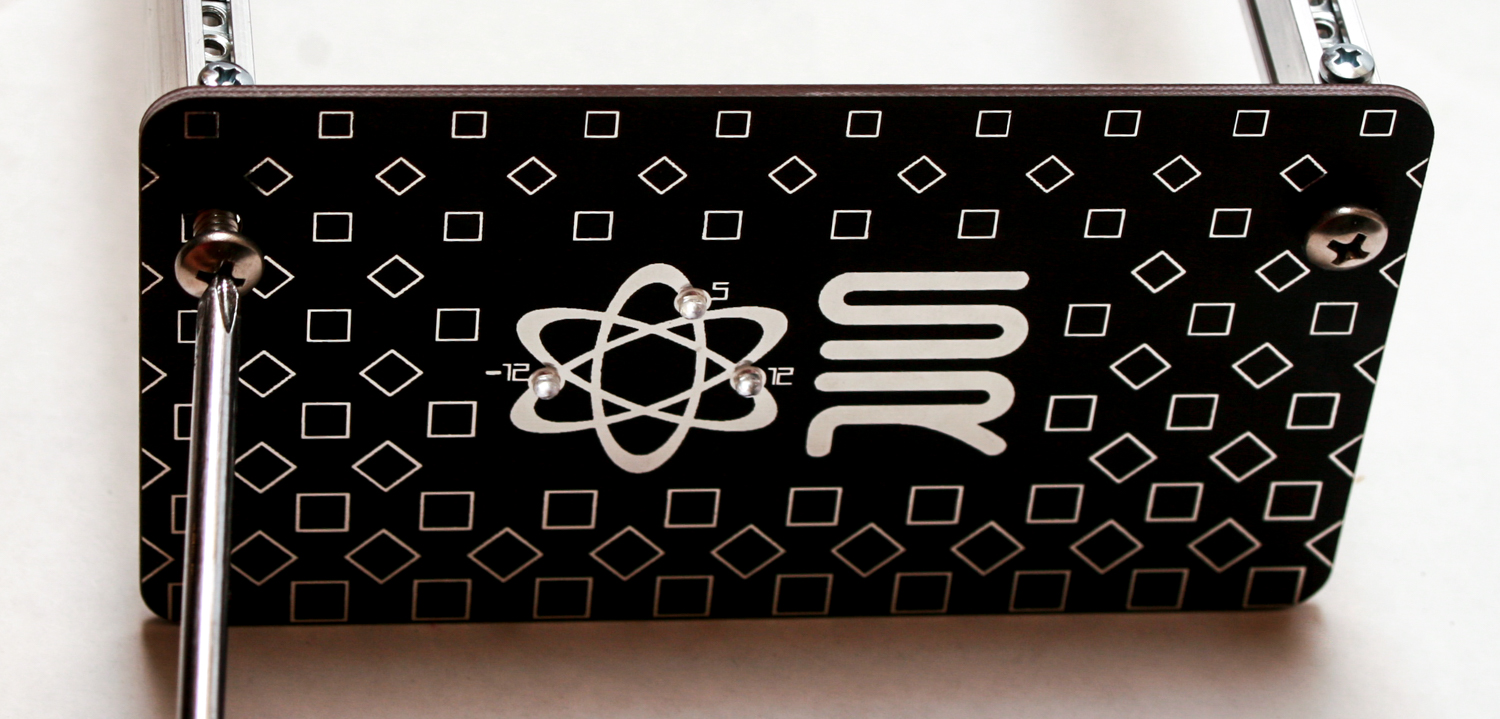
Attaching Synthrotek Rails To Bus Cheeks
Below is the final product assembled! 20HP-300HP, these cheeks are a great way to add more modules to your system.
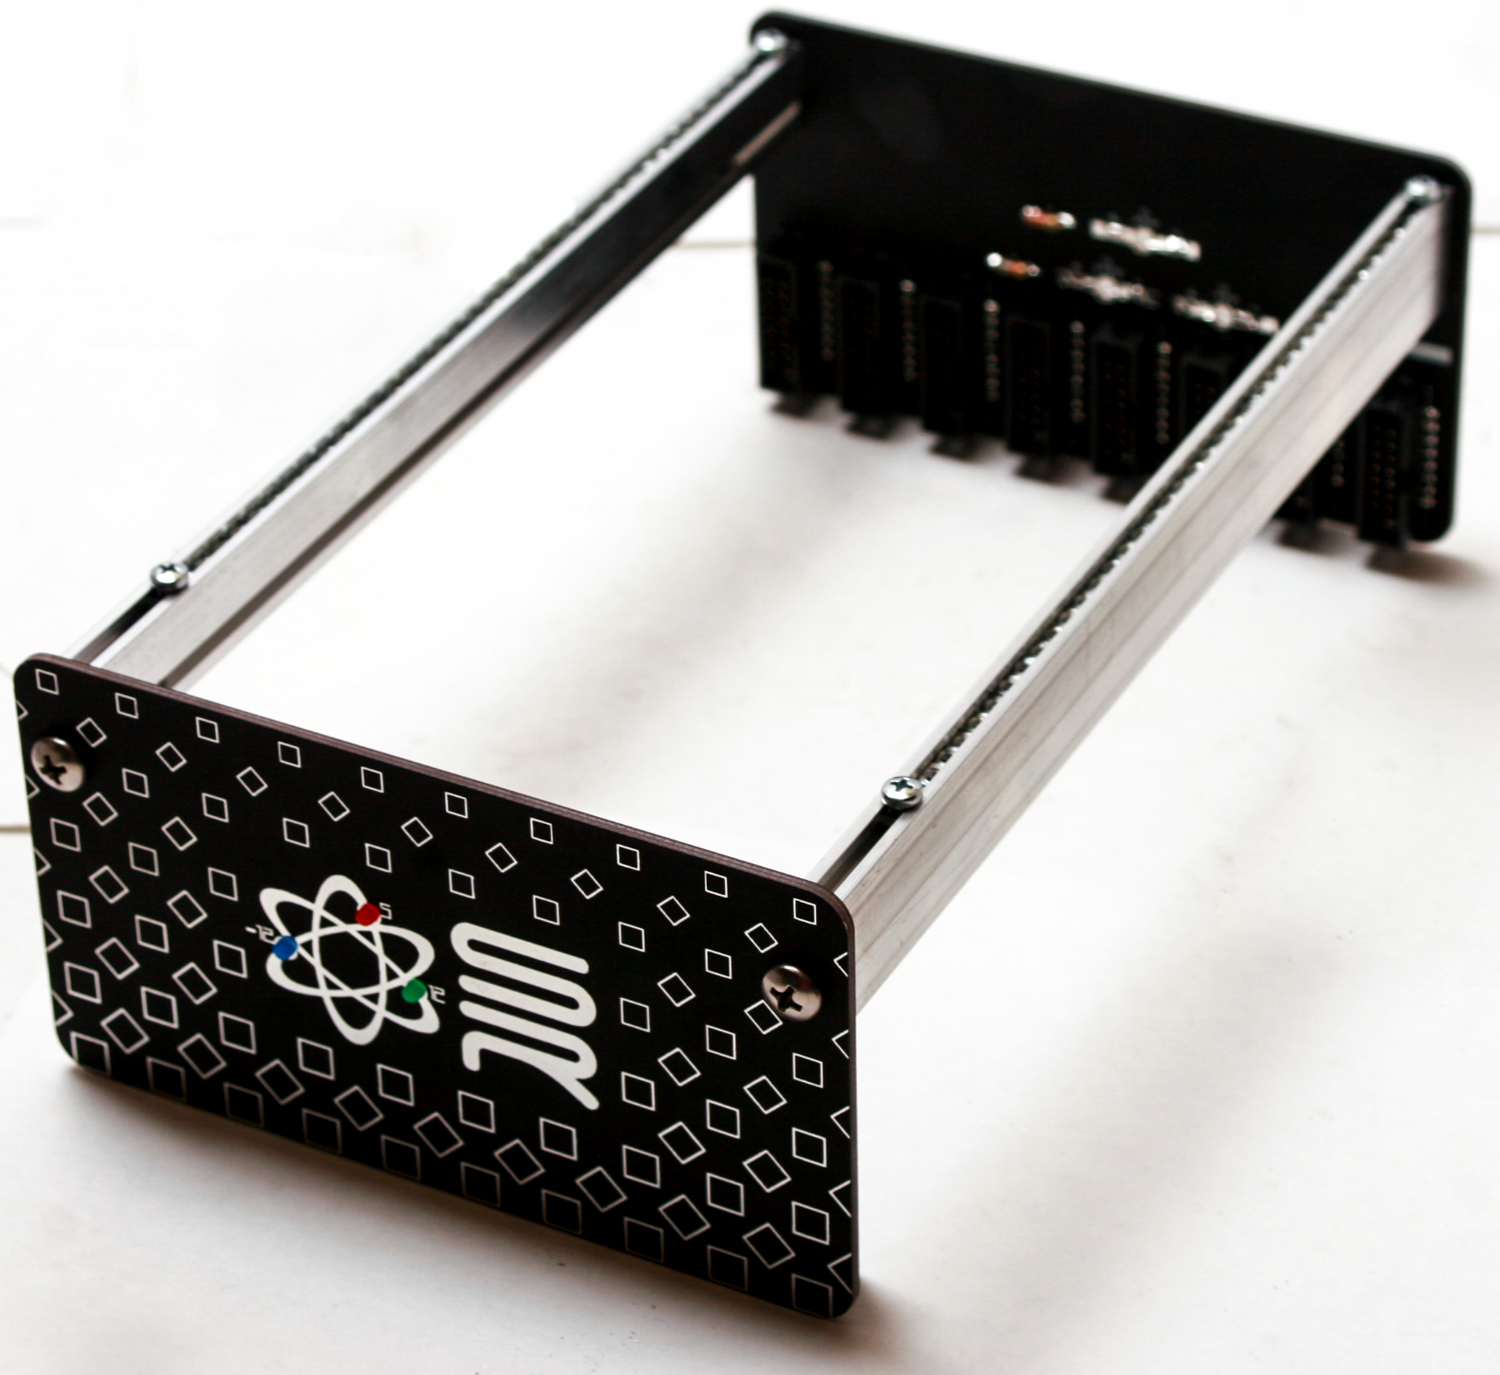
Bus Cheeks Final Build
If you would like to use all 16 (14 in the end) connections (by using two populated Bus Cheeks) then you will need to purchase (or make) a custom 16 to 16 pin cable as shown below. Synthrotek sells these cables at store.synthrotek.com. Now all you need is a power supply module and you are good to go!
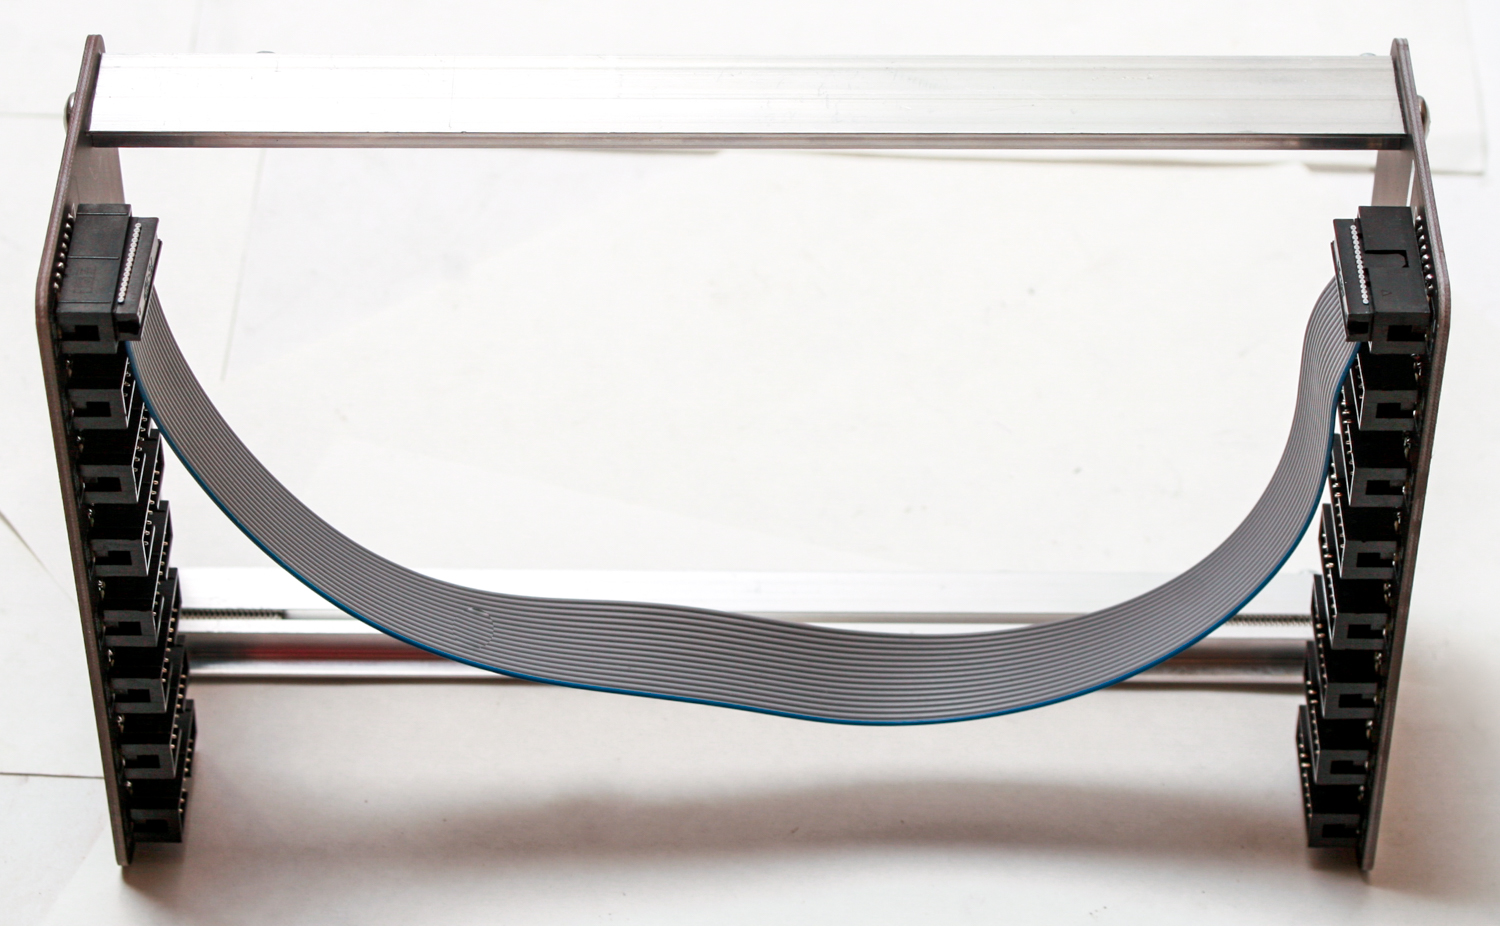
Bus Cheek Power Tethering